We Have A New Home!

Sponsored Links

Showing posts with label Crafts / DIY. Show all posts

Thursday, January 24, 2013

DIY Fabric Flower Letter

This summer, one of my amazingly sweet mother of the brides gave me a gift after shooting her daughter's wedding. She and I had many connections and common interests and she gave me the perfect gift, one she knew I'd love - a gift certificate to Crafts Direct!

Love you, Nancy! :)

One weekend in September, my mom and I went down to St. Cloud to explore the massive craft store and spend my gift card. While walking through aisles of ribbons, fabric, jewelry beads and more, I saw a huge cardboard R that jumped out at me. 

"Laura! Look, an R! Pick me! Buy me!"

That's what it said to me.

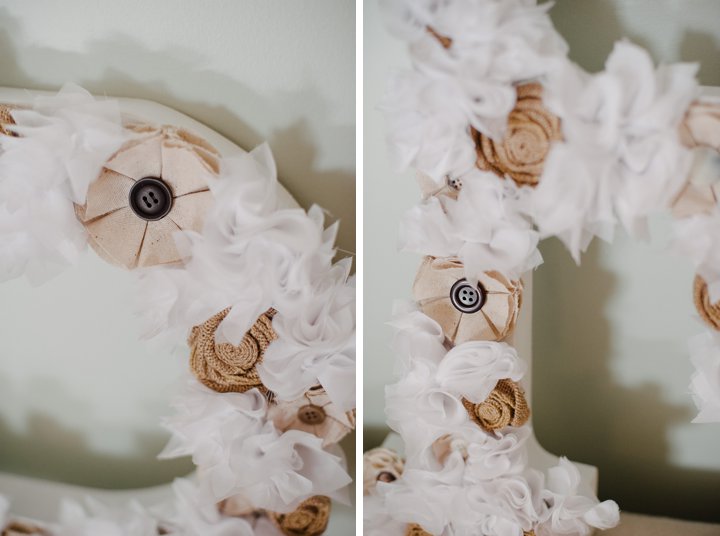
I immediately thought about covering it with fabric flowers which I LOVE to make, and hanging it on the wall in my new house. I picked the R up and added it to my shopping cart.

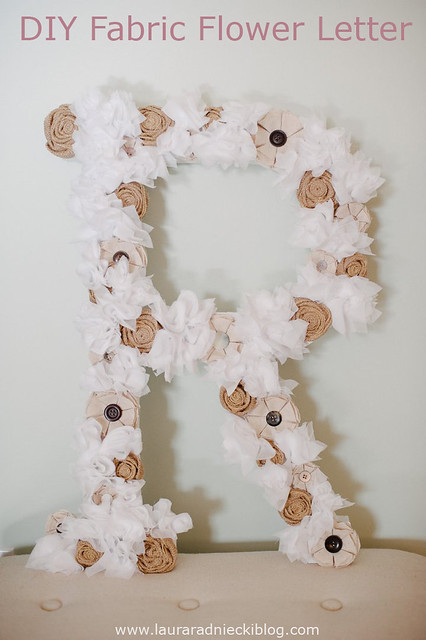
Here's how I turned a huge cardboard R into wall art in my new home!
LKR_4779_HeaderImage
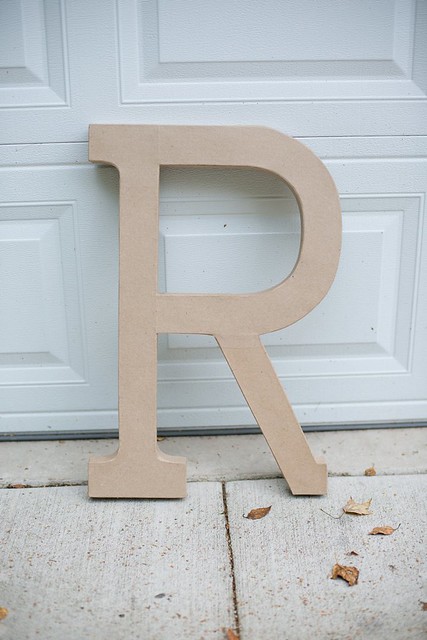
This R is huge - maybe 2 feet tall from top to bottom. I just loved it when I saw it.

The first thing I did was decide on the color scheme for the fabric flowers. I knew I wanted to use burlap and osnaburg fabrics which I am obsessed with, and I thought the natural browns of those fabrics would look good with white tulle which I had around my house already. Because of the colors I chose, I decided to spray paint my letter white so it would be a good neutral canvas for my flowers.

If you decided on different colored flowers, you could spray paint your letter any color you wanted. Or just leave it natural!
2LR_5040
I spray painted my letter white on all surfaced, even a light coating on the back. 
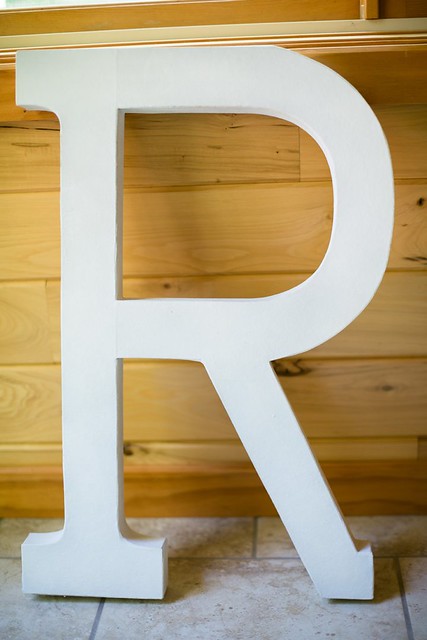
2LR_5041 
I am not going to include details on how to make the fabric flowers here. If people are interested, maybe I will do future tutorials on the 3 kinds of flowers I made to use here? [Shout if you're interested in a post like that in the future.]

Pinterest is FULL of fabric flower tutorials, so you can start there if you want to know how to make some different types now.

I used burlap wired ribbon to make the rosettes, osnaburg fabric and buttons to make the petaled flowers, and white tulle to make the puffs. [Those puffs were a pain in the you know what to make.]

I love the outcome, and the natural tones of the R.
LKR_4781 LKR_4782
I decided to only cover the front surface with fabric flowers. 

I did this for 2 reasons - the flowers take a long time to make and I was tired of making them once I had the front surface all covered. Also, I thought it looked just fine with flowers on the front and bare sides, since my white letter matched my fabric flowers so well. 

If you wanted to, you could put fabric flowers on all sides except the back.

The finished piece of art!
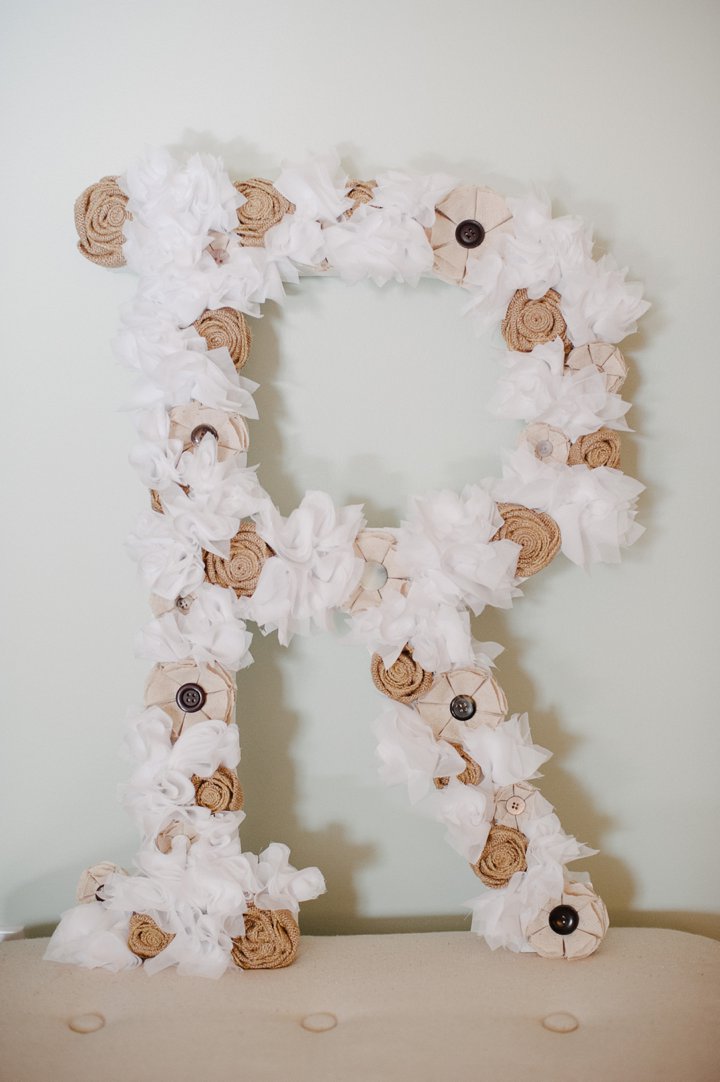
LKR_4779
This is honestly my favorite piece of DIY art I have ever made.

Partly because I am so obsessed with fabric flowers and partly because I just love the look of it - the natural tones and the subtle elegance.

It is so light, it will be easy to hang. I just poked a hole in the back, and I'll hang it on a nail with a head.

Now, to decide which wall to hang it on... 

[If you love this tutorial, spread the love with your fellow DIY-ers in Pinterest, Facebook or Twitter!]
xo! Laura

Wednesday, January 9, 2013

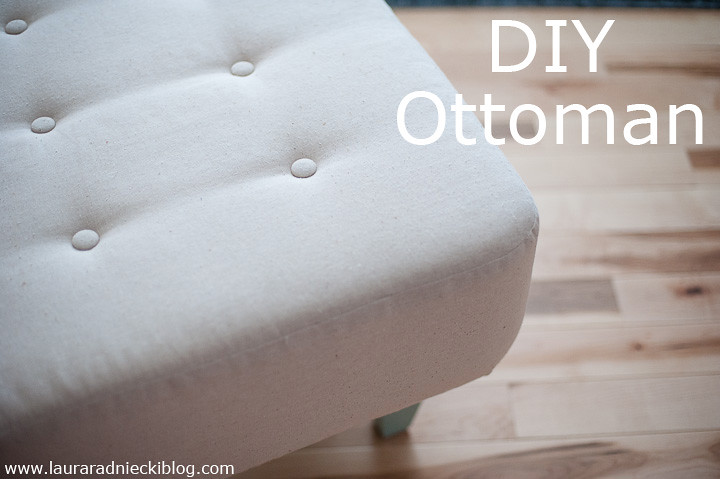
DIY Ottoman with Tufted Buttons

This summer, I came across some tutorials for making DIY ottomans on Pinterest. Some said to use palettes, fabric and legs, and others used an old end table and wrapped it in fabric.

In the fall, I came across an end table at a garage sale and with the help of my carpenter dad, we attempted to make an ottoman out of the end table.
It worked. But it was extremely heavy because the table was big and bulky, we didn't use enough foam so it isn't very comfortable to sit on, and the corners looked disheveled and messy.

We figured there was a better way to make the second ottoman [I wanted one for my office and one for the living room], so we tried a different way.

Here's what we did the second time around.
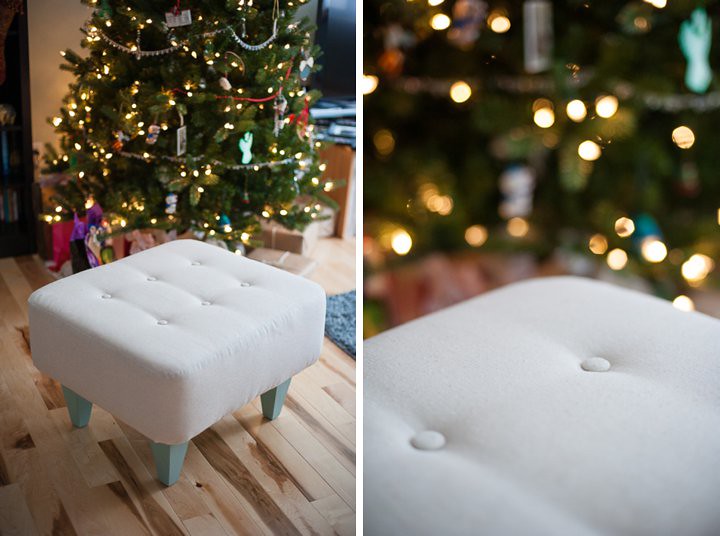
DIYOttomanLR
First, we decided on the size we'd like the finished ottoman to be.

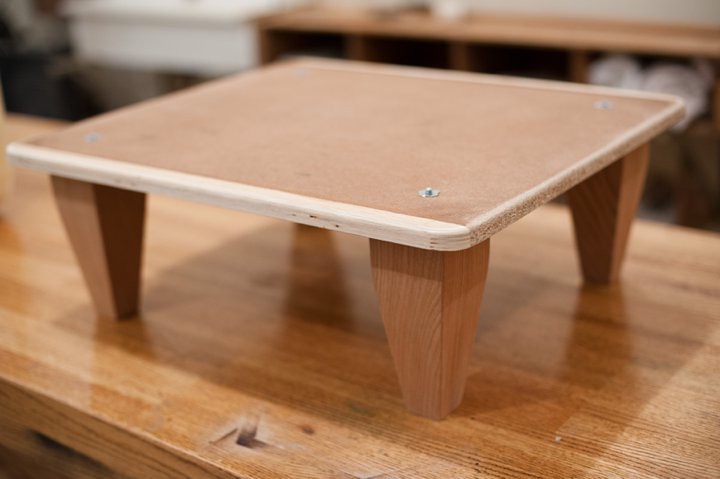
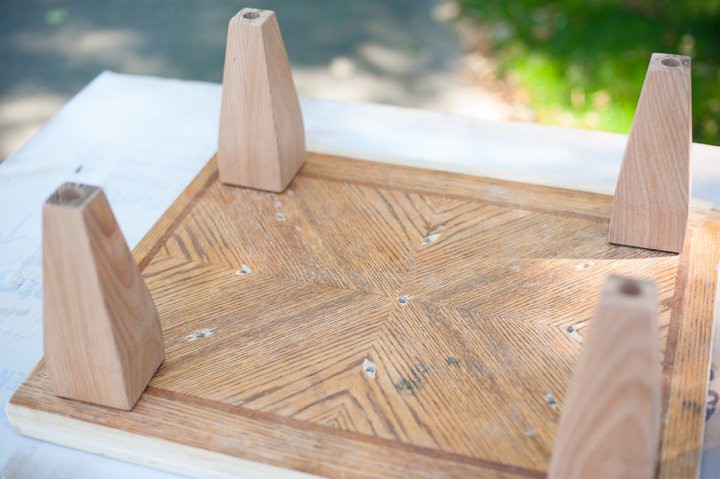
Then, we cut a simple board for the bottom of the ottoman and my dad made 4 legs of the desired length.

My dad, the amazing detail-oriented carpenter rounded the edges of the bottom board and created beautiful tapered legs for the ottoman. But your board can be rectangular, and your legs can be simple and plain. You can make legs or buy legs, it doesn't matter.

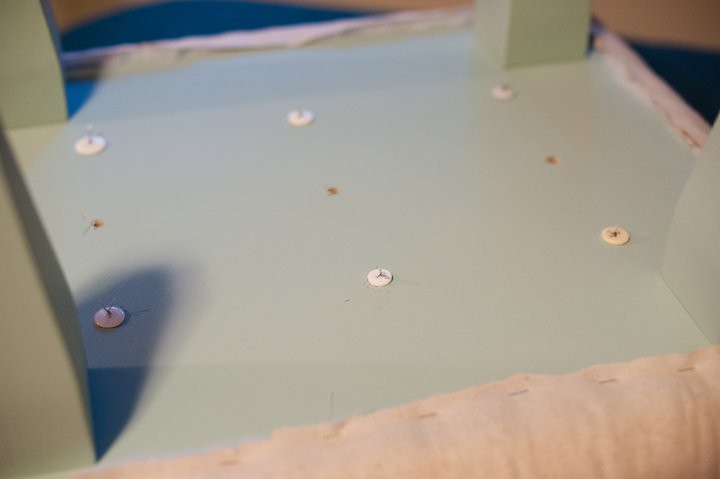
We also decided if we wanted to add buttons or not, and if so, how any button holes we would need. We drilled 9 holes here [see photos further down], but I ended up only putting 6 buttons on.
LKR_4190
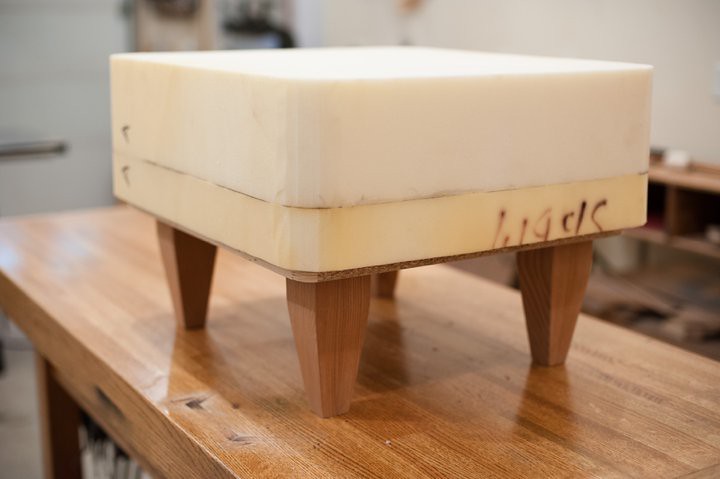
Next, we cut foam to the desired size.

This foam came from the inside of my parent's couch when they had it re-stuffed. I was lucky that I didn't have to buy foam, but you can get this at a craft store or any number of places.

The thicker the better - you want the finished product to be squishy and comfy.
LKR_4189
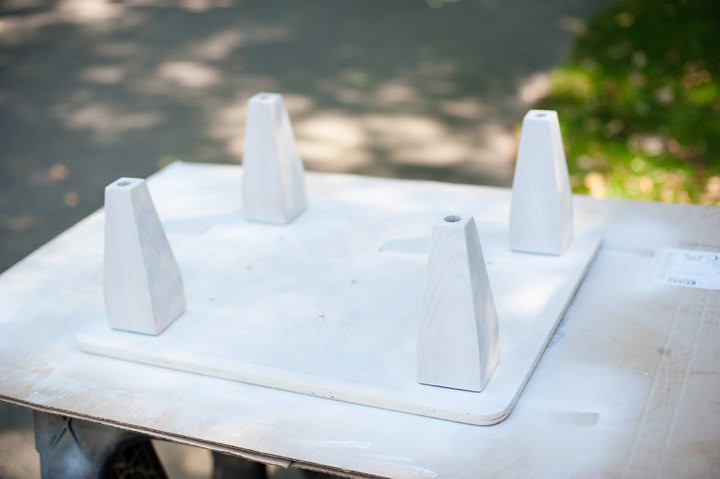
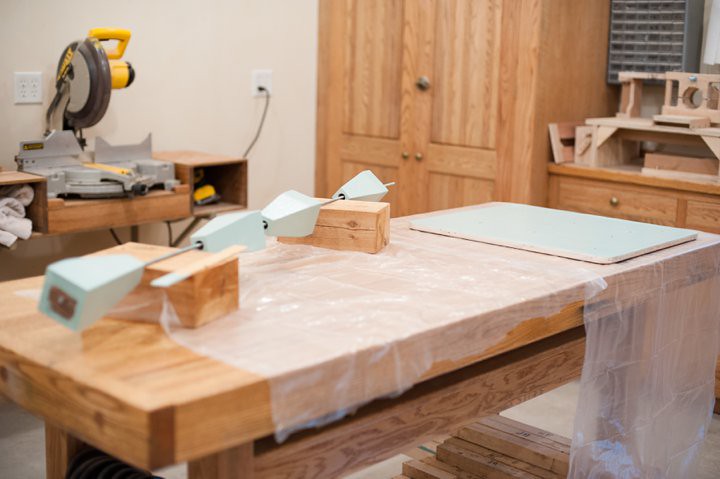
Next, I primed and then painted the bottom of the board which is the bottom of the ottoman, and then all four legs.
LKR_4191 LKR_4192 LKR_4193
Next, we used hot glue to secure the foam to the bottom board.

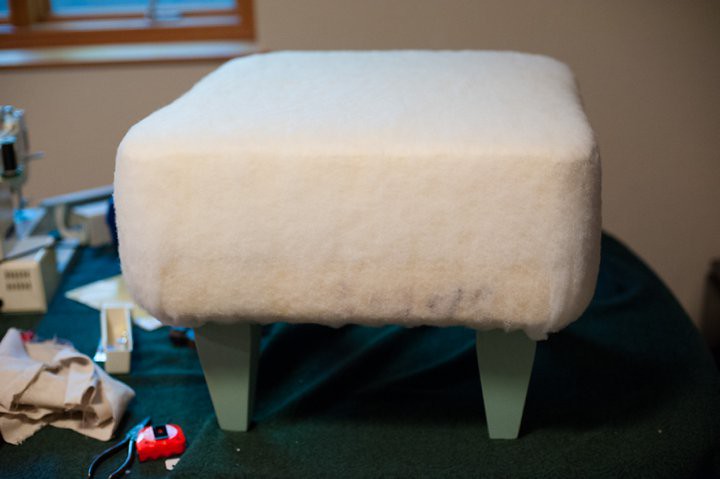
Then, we took batting and wrapped it around the foam, stapling it to the bottom of the board. This helped to create a nice rounded shape to the ottoman.
LKR_4222
The first time around with the first ottoman, we simply cut a large square of fabric, stapled all four sides of the fabric to the bottom of the ottoman board, and then tried to make the corners look as nice as possible by pulling them tightly together and then stapling the fabric to the bottom of the ottoman. But they looked lumpy and disheveled no matter what I tried. If you don't sew, this method is just fine. It's just a little more DIY looking.

If you can sew a straight line, this next method worked well.

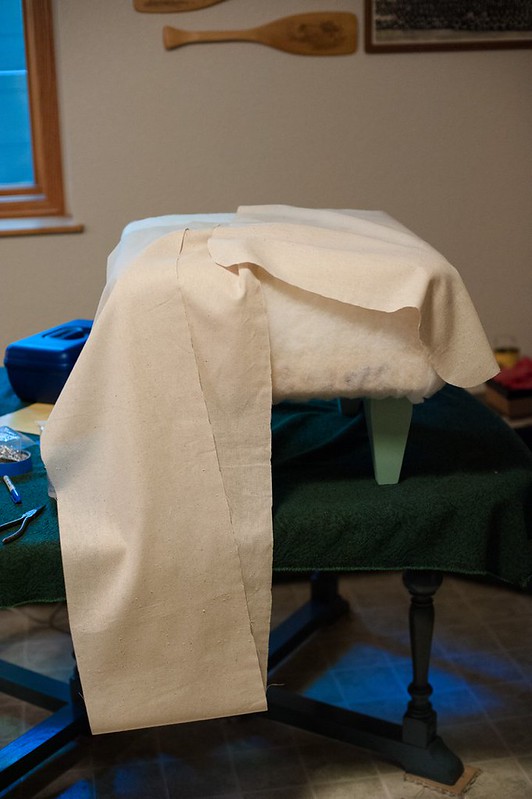
We measured and then cut two pieces of fabric: one for the top [the rectangular top surface of the ottoman] and then one very long skinny rectangle that covered all four sides of the ottoman. We cut rounded edges on the top rectangular piece which helped to create a smooth, rounded finished look.

Make sure you measure accurately because this has to fit over the ottoman and should be snug without being too tight. You don't want it to be too loose either. You also want enough fabric to staple the long piece under the ottoman board at the end.
LKR_4223
I carefully sewed the long skinny edge piece around to all four sides of the top piece. The corners are tough, you have to go slow. Then, sew the two ends of the long skinny piece together too, creating a finished cover - inside out.

Once you're finished sewing, you turn it inside out and you have your fabric cover.

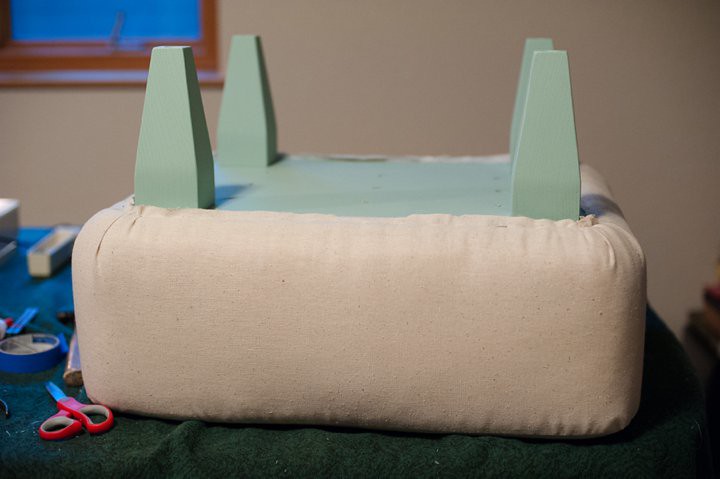
Next, we slipped it onto the ottoman, turned the whole thing over and stapled the fabric to the bottom of the ottoman. The corners still require a little strategic stapling but it's much neater and cleaner looking than the large fabric rectangle method is. 

It's really personal preference though - both ways will give you a finished ottoman! You decide what works best for you.
LKR_4224
Next is the button step.

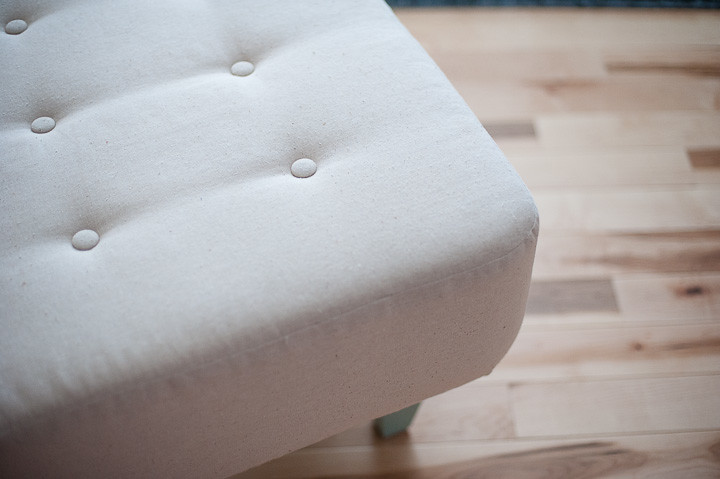
I bought a button kit at my local craft store, and used some of the fabric scraps to make matching buttons. You could make contrasting buttons with different fabric if you want to, but I wanted the clean, polished look of matching buttons. [See finished ottoman photos to see finished buttons.]

There are probably many methods for installing these buttons. I don't know what is the easiest, google could probably tell you. We didn't google it - we just experimented.

We used a really long metal needle [longer than your board+foam height] to poke up through the holes from the bottom, up through the top of the foam and fabric. Then, we lopped on the finished button, and then came back through the fabric, and back out the hole on the bottom of the ottoman. Then, we took a regular button, and used that to tie a tight knot. This allowed us to control how deep the finished button sunk into the top of the ottoman, and made it easier to tie.

[Please note - there may be a super simple way of doing these buttons that we didn't know about. This is what we did and it worked out ok. Ok, carry on. :)]
LKR_4225
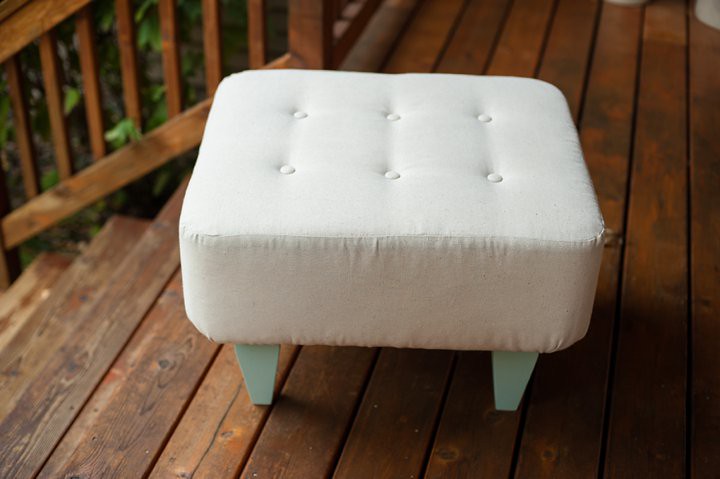
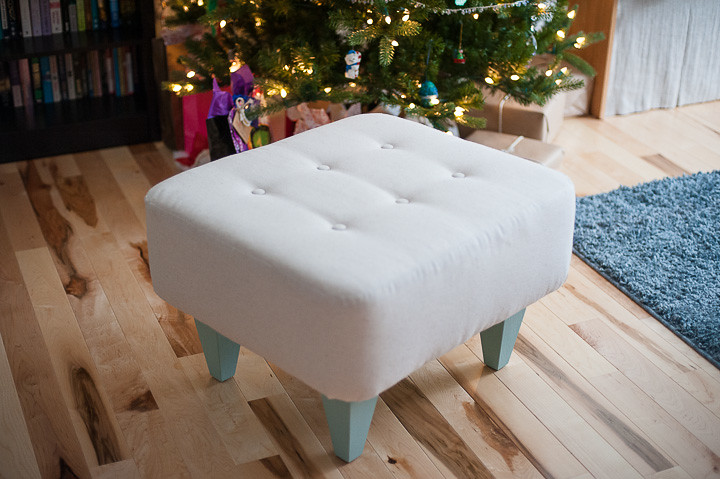
After the buttons are installed, viola! The ottoman is DONE!
LKR_4229 LKR_3806_ LKR_3807 LKR_3808
The cost of this ottoman for me was very cheap because my dad used wood he had around the house, and the foam came from their couch. The only expenses for me were the fabric, paint, batting, and button kit. Even if you have to buy all the pieces though, it can easily be done much cheaper than buying one.

It is amazingly comfortable and looks store-bought. It's fun to tell people that it is in fact a DIY masterpiece.

Thursday, June 21, 2012

DIY Fabric Pom Necklace Tutorial

Last month, I came across a tutorial for making fabric pom necklaces on Pinterest. I was immediately intrigued and decided that fishing opener weekend was the perfect time to try to make one myself. Matt was gone fishing and I was hanging out with my dad at home. After a quick trip to JoAnn Fabrics, I got started.

It was a gorgeous day and I was sitting out in the sun on the driveway, crafting. It's quite difficult to photograph yourself crafting though, so I apologize for the lack of quality images for this post. Truly.

Here's what you need to make a fabric pom necklace:

Scissors
1 sheet of felt
Enough fabric to make 5 sets of 8 1.5" circles - so 40 1.5" fabric circles.
Hot glue gun and glue sticks
Some type of necklace chain

I used yellow fabric and gray felt, because that's what I had handy. However, I would recommend that you try to choose a felt color that is as close as possible to your fabric color. That way, it will blend in better. I also bought a really long necklace chain at JoAnn's and then I cut a piece of that off with a wire cutter for my pom necklace chain. That way, I could make a couple more necklaces from that same long chain.

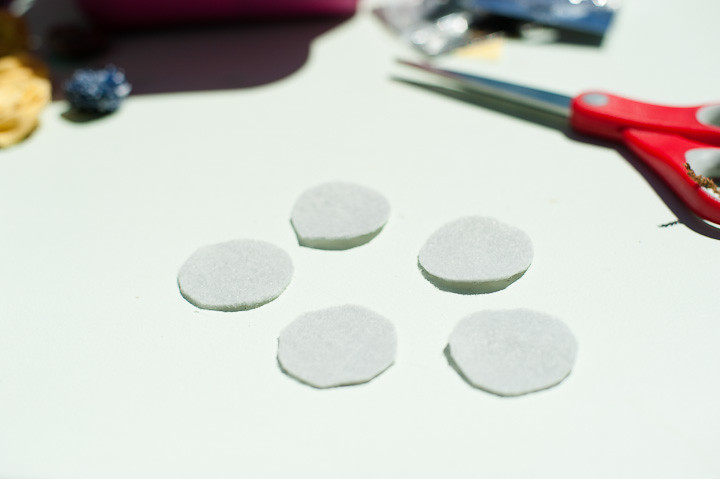
Start by cutting 5 felt squares about 1.5" in diameter. These are the bases of your pom flowers. If you choose to cut the circles smaller or larger, that's fine. However big you make the circles is how big your poms will end up being.
LKR_2268
Next, cut 5 sets of 8 1.5" [or however big you made your felt circles] fabric circles. They don't need to be perfect circles. I folded my fabric so I was cutting 4 circles at a time, and I did that 10 times, giving me 5 piles of 8 circles.
LKR_2269
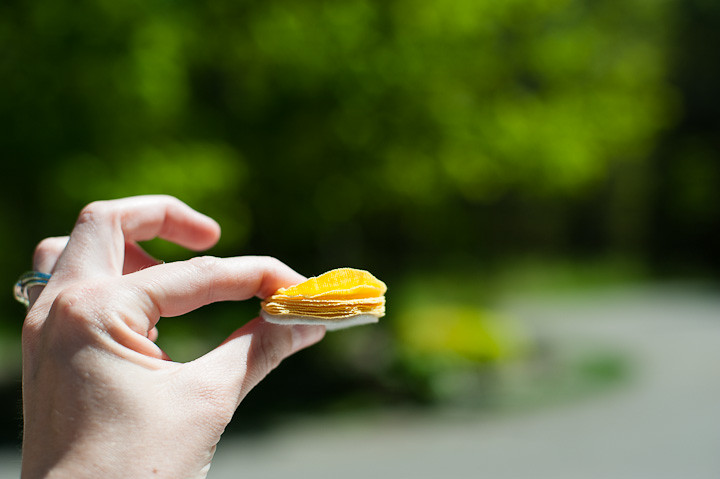
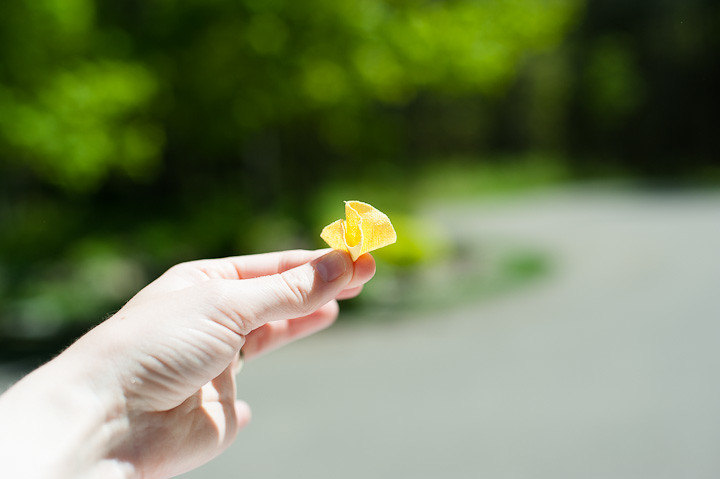
To make each pom, you start by taking a fabric circle, and kind of crumpling it up so it's like a cone with the point at the bottom. Then put a dab of glue in the center of your felt circle and stick the cone onto it. Repeat by crumpling another fabric circle into a cone and put another dab of glue next to the first one. You do this 8 times and you begin to fill in all the gaps, creating the pom! Again, there's no exact science to it.
LKR_2271
Another note here - I unknowingly chose a fabric that unravels like crazy. So every time I wear the necklace, little strands of yellow fabric come off and hang out all over my shirts. If possible, choose a fabric that doesn't fray too badly. Otherwise, I believe there's some type of glue or something you can get that prevents fraying.

You continue with the method above until you've made 5 poms!
LKR_2272
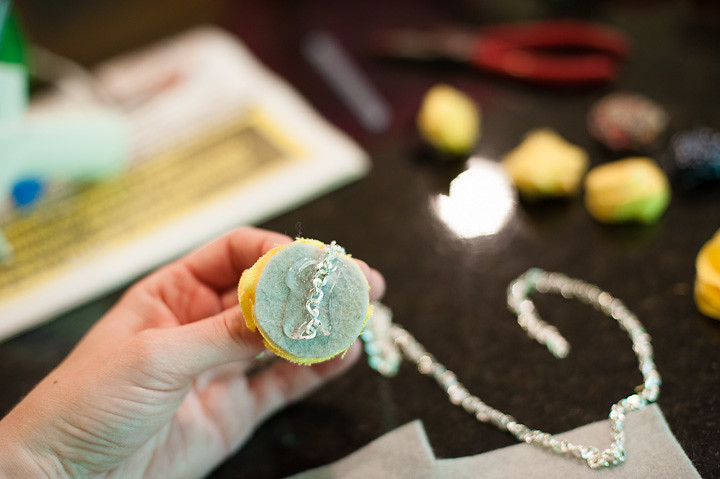
Next, you are going to glue your chain to your poms. You take your chain and glue it to the underside of 2 poms - one on each end. Here's what I did. I took the long chain from JoAnns, and tried to measure what length I needed so that I could slip it over my head. Then I cut that length off, so I had one long chain. I glued each end to a pom. This is the easiest way to do it. But if you happen to use too short of a chain, once your necklace is done, you might not be able to slip it over your head. So be careful to make sure you can slip it over your head if you make it this way, using one solid length of chain.

Another option would be to take a normal necklace with a clasp in the back. Then you would have to cut the necklace at the OPPOSITE end of the clasp, like where a pendant would be hanging if you were wearing it like normal. Then you'd glue each end of the part you just cut to a pom. This would give you a necklace with a clasp in back at the end, which would let you unhook and put it on or else slip it over your head if it fit.
LKR_2273
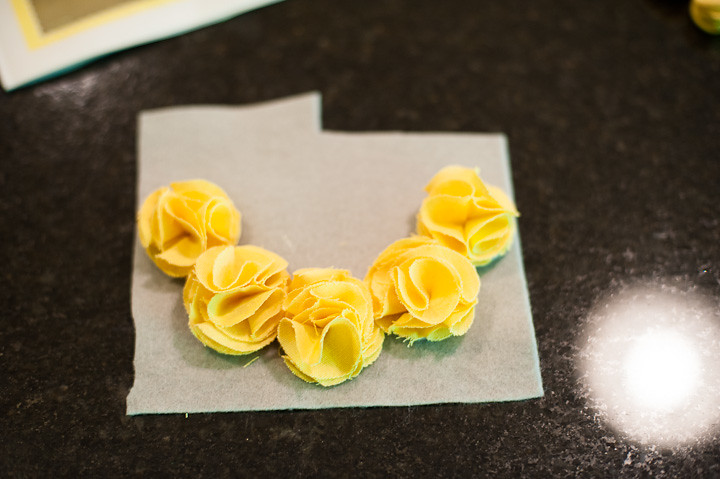
Once you glue the 2 ends of your chain to 2 poms, you will take the remaining felt and lay your necklace out on it. [See 2nd photo above, but it will have the chain coming off the 2 end poms now.] The 2 poms with the chain glued to the underside form the 2 ends of the necklace. Once you lay it out how you want it, glue the poms down onto the remaining felt and let dry. Once it's dry, trim off all excess and viola! You have your pom necklace!
LKR_2277

Wednesday, June 13, 2012

DIY Photography Workflow Frames and Charts

A while back, I read a blog post about a photographer who created and printed her own workflow charts to keep her organized in the process of booking, shooting, and then editing a wedding or portrait session. I was intrigued, so I set out to make my own.

As a disclaimer, this awesome company sells these workflow charts for pretty reasonable, and I think they are beautiful. I probably would have bought them instead of made them except that I'm A] Craft obsessed and B] Frugal so it's hard for me to buy something when I could possibly make it. In hind-sight, it would have probably been 110% worth the investment because I think theirs are prettier than mine turned out to be, and mine did take quite a bit of time. But anyway! :)

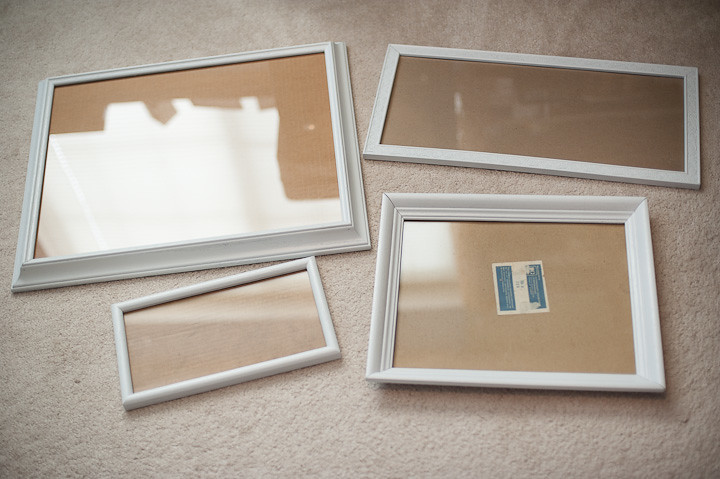
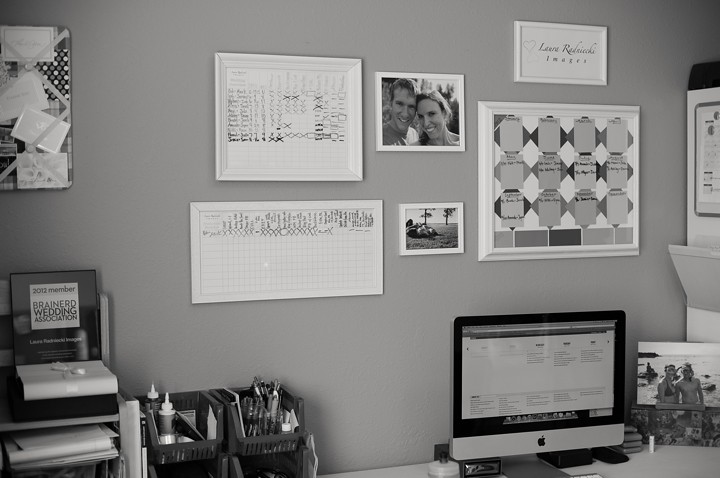
First, I dug through all the available frames at our local Salvation Army Thrift Store and found a handful that I liked. I had ideas in my head of what I wanted to great - I wanted a big calendar, I wanted a post-production chart [for my editing workflow] and then a place to keep all of my wedding clients in one place, so I could see what still needed to be done in their pre/post wedding workflow. Plus I wanted a couple others for fun photos of Matt and I, and one for my logo.

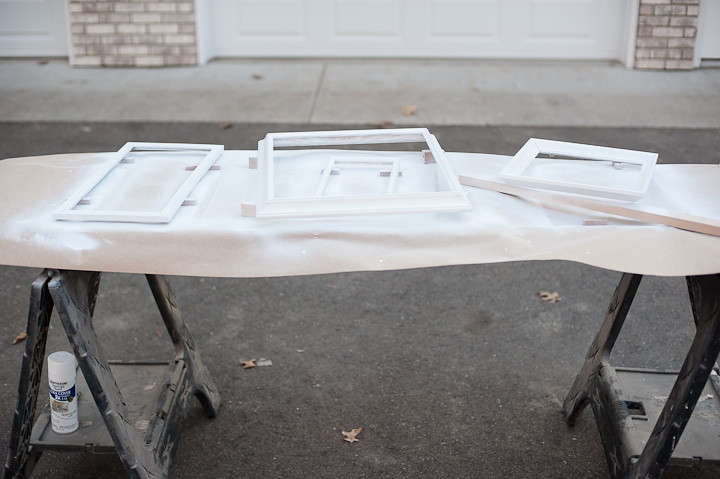
Once I found frames that would work and I cleaned them up a little bit with a damp rag, I spray painted them white so they would all match. Then came the tough part - making the charts!
LKR_6676 LKR_6677 LKR_6697
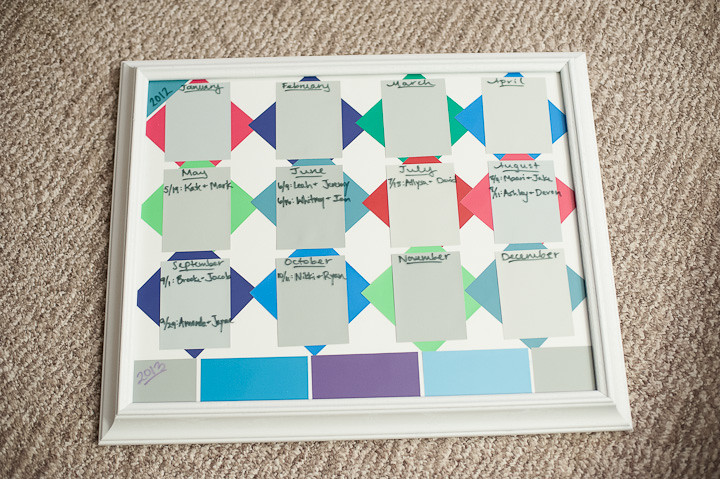
The calendar was created using an idea from Bethany and Dan's blog - using free paint chips from Benjamin Moore and making a calendar that can be reused. All of these frames came with glass, so I can write on them with a whiteboard marker and then use water to clean/erase and start over again! No more making new charts each year. I ordered free paint chips from Benjamin Moore and made the calendar by creating a design that I thought looked fun.
LKR_6700
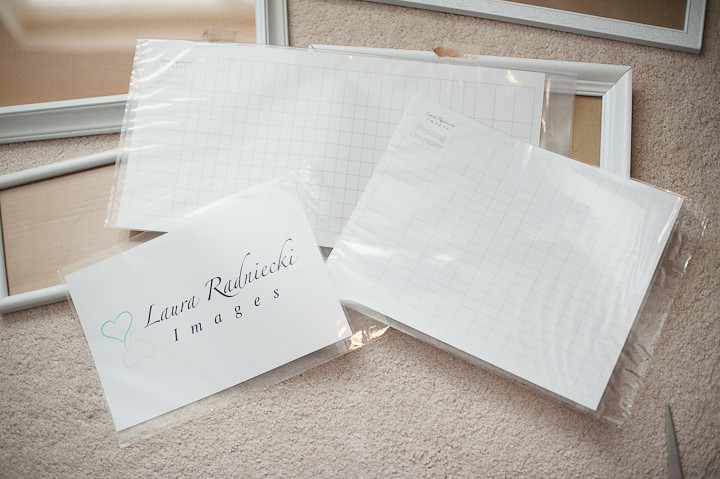
Next came designing the wedding workflow and post production workflow charts. I initially tried to make them in Photoshop but I had a headache in 2 minutes. I ended up making them in WORD and then I believe I exported them and opened them in PS. I made it the size I wanted and then saved it as a jpg for ordering.
LKR_6698
I chose not to put the steps of my workflow directly into the chart for several reasons, the main one being that I have changed my workflow several times over the last 3 years and I anticipate it to change more in the future as I continue to fine-tune and tweak my process. I didn't want to make the chart, put the steps into the chart directly, order it, and then 4 weeks later change my process and have a chart that is no longer correct. Instead, I left all the spots in the chart blank except for my logo and the title of each chart, and then filled it in on the glass side with a marker. Easy to change in the future if need be!

The downside to doing it this way is that you're writing with a whiteboard marker and even though I found the finest-tipped ones I could, they still smear a little. It's sometimes hard to read what I wrote, and it looks messier than it would have if the steps had been printed directly on the chart. But to avoid the hassle of remaking/reordering a new chart with each production change, I can deal with the hint of messy!
LKR_6082-2
I am still getting into the habit of using these, but I do think they help. Especially when it's the first few weddings/sessions after the winter slow season - I always feel like I'm missing a step or I skipped something, and this chart helps me know that I didn't! Plus overall, they were fun to make and we all know how much I love craft projects!

Friday, May 11, 2012

Fabric Flower Ring Tutorial

A month or two ago, I came across this photo on Pinterest. I pinned it onto my DIY board and planned to make it 'someday.'

Last week, I was at JoAnn Fabrics looking for some twine/jute, and I stumbled across some ring blanks in the jewelry section. I immediately remembered the fabric flower ring tutorial and decided to try it, so I bought the ring blanks.

I whipped up 6 rings before dinner on Friday, and then had fun wearing them over the weekend. Then, I decided to write a little tutorial for those of you interested in making your own. But let me preface my tutorial by saying I took the photos for this while Matt was at work, so I didn't have him there to help. I did my best with a self timer and a tripod, but I apologize if the photos aren't as clear as you might like. It's tough to use both hands and take a photo at the same time!

Ok, onto the tutorial!

To make these flower rings, you will need:

*Fabric: a strip about 3/4 - 1 inch wide, and maybe 12 long. The longer the strip, the bigger in diameter your flower will be.
*Hot glue gun and glue sticks
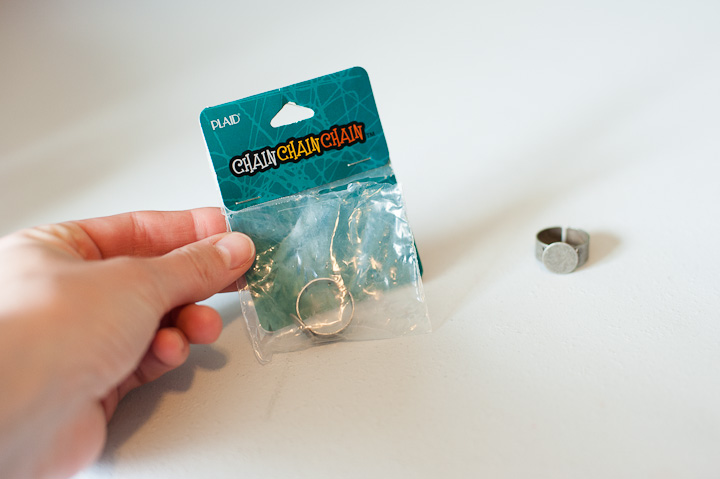
*Ring blanks [the photo below shows the ones I bought at JoAnn Fabrics. They came in a pack of 8 for $3 I believe. They are somewhat adjustable.]
LKR_2179 There are two ways to start these fabric flowers. I am going to start with the way I usually make them, and then show you the alternative way at the bottom of the post. I know many people make their rosettes using the second method.

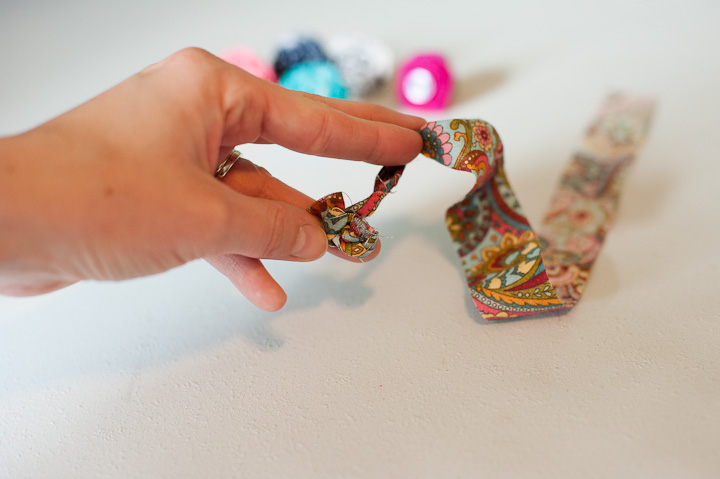
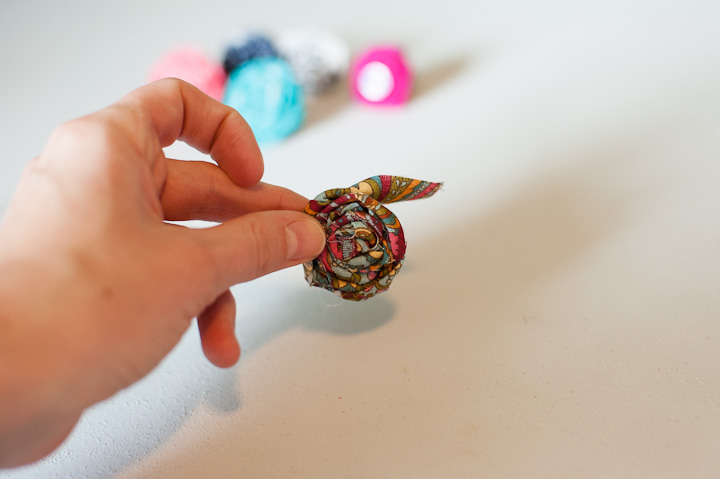
To begin, heat up your hot glue gun. Take your strip of fabric and tie a knot close to one end. This will be the center of your rosette.
LKR_2190 Next, put a small dab of hot glue on the side of the knot, and then twist the fabric strip, and touch it to the glue spot.
LKR_2194 This is repeated around the rosette - put a dab of glue, twist the fabric, and then touch it to the glue spot. Keep doing this and you will see your rosette form.
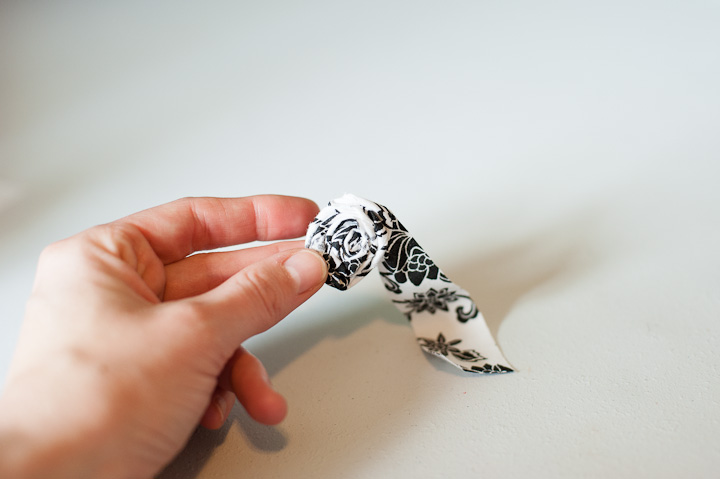
LKR_2195 Continue to do this until you have a little over an inch left. This fabric tail will form a smooth bottom for your flower. Put some hot glue on the bottom side of your flower, and then glue the fabric tail down. Trim any excess, so you can see if from the top.
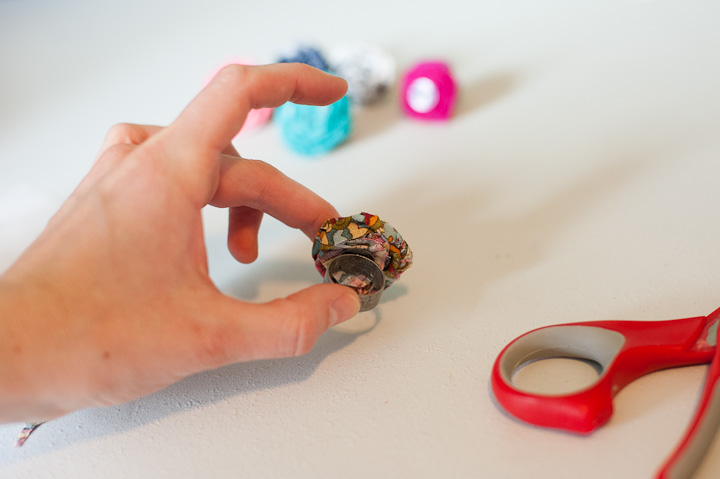
LKR_2196 Once your rosette is finished and the tail is glued to make a bottom, take your ring blank. Put a healthy dose of hot glue on the ring blank, and then position it in the middle of the bottom of your ring.
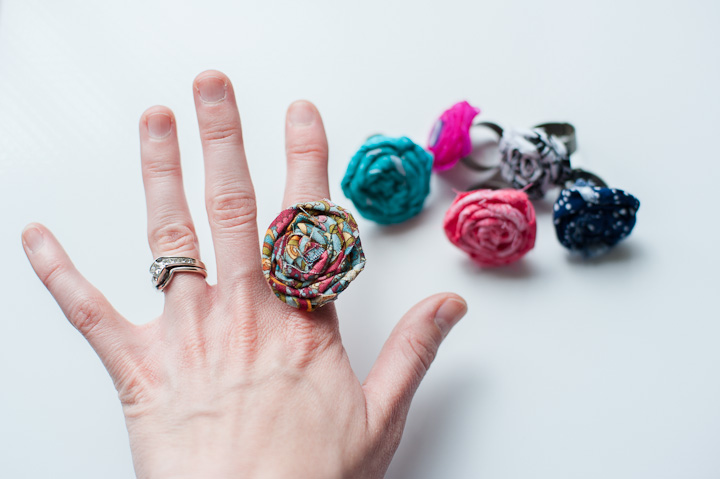
LKR_2197 Ta-da! Your fabric flower ring is finished!
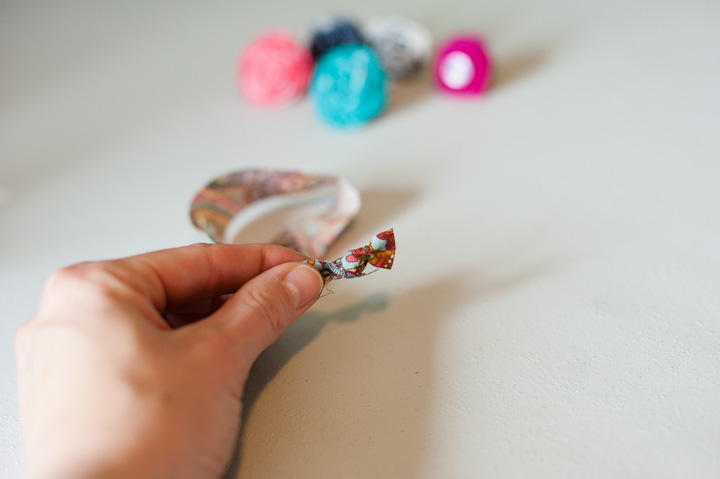
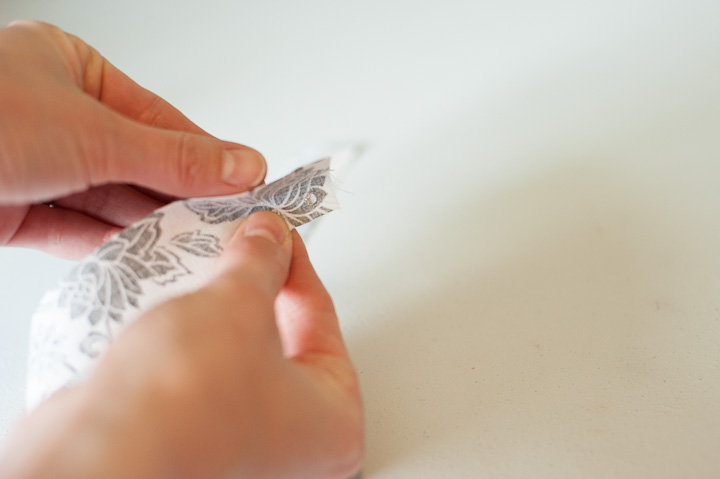
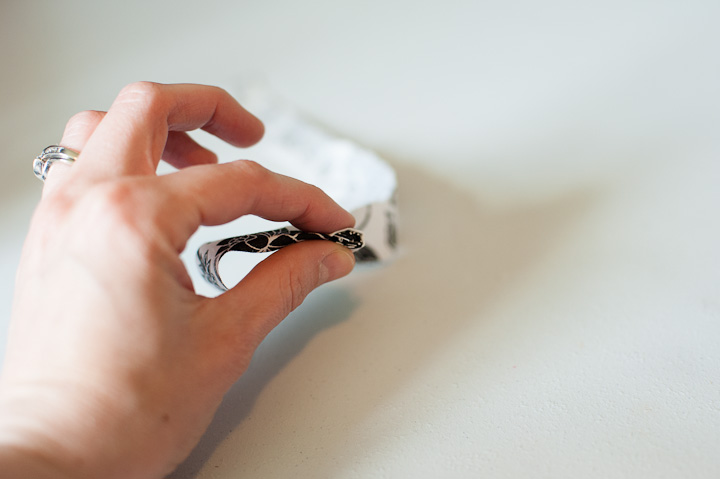
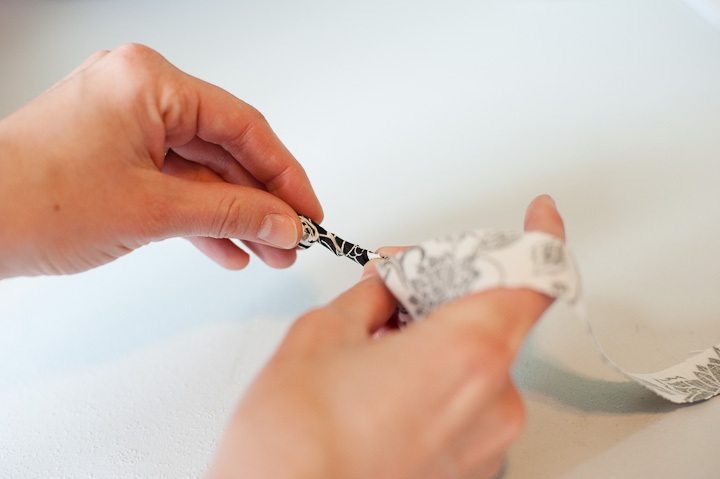
LKR_2205 Here's the other way to begin the rosette. Instead of tying a knot, take your strip of fabric, and put a small dot of glue on one end. Fold the strip in half. Then fold it in half again, putting another dot of glue in to secure it.
LKR_2181 Now, roll your strip several times tightly. This will become the center of your rosette. Then, continue with the twisting/gluing to the edges of the rosette as I listed above.
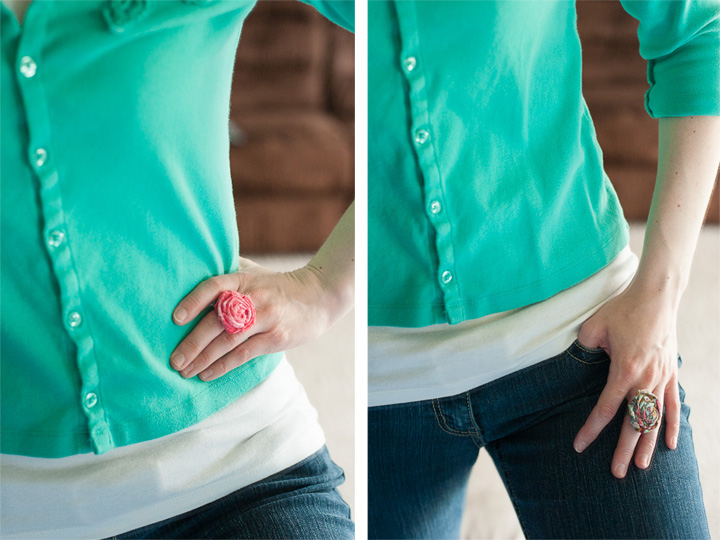
LKR_2183 LKR_2185 LKR_2186 These little flowers are so easy and so cute! They spice up any outfit, and are so easy to make, you can make them in every color! You could also try to use ribbon instead of fabric - the steps would all be the same.
BlogDyptich1 Good luck and happy crafting! Let's see your creations!

Monday, December 5, 2011

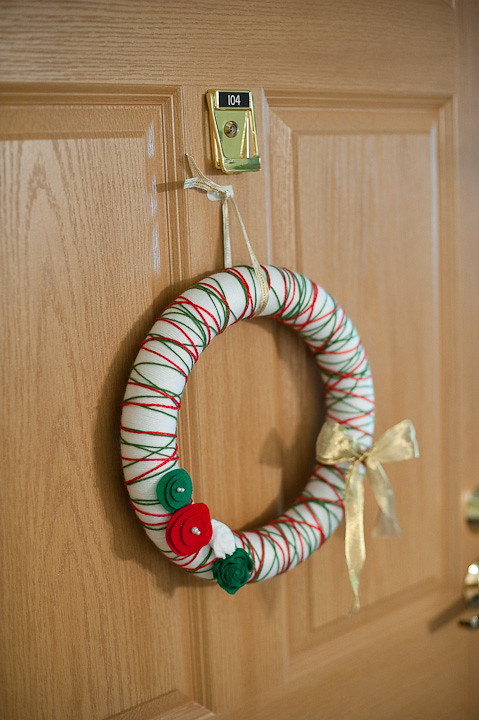
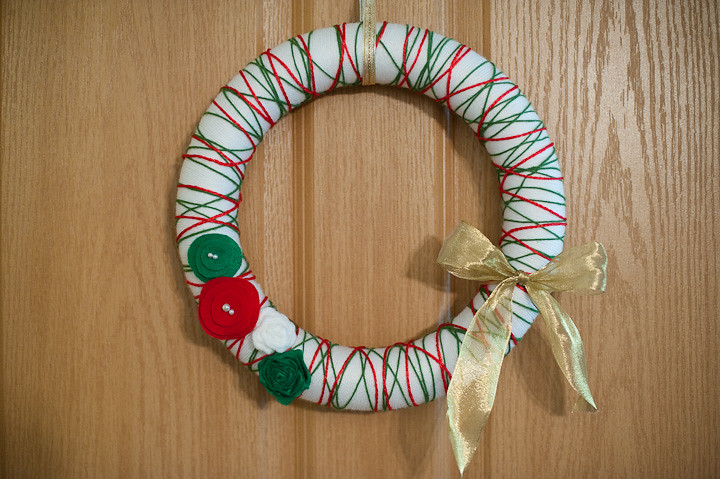
DIY Yarn Wreath

I've been seeing these awesome yarn wreaths pop up all over the internet this year, and this last month, I've seen them in both my DIY magazine and in my mom's Better Homes and Gardens mag.

You know how I obsessed I am with all things crafts, so I decided to give it a whirl.

After a stop at Joannes, I settled into my spot on the couch, raided my yarn stash and got to work. I watched two Christmas movies as I worked on it. It's tedious work, wrapping the yarn in and out of the wreath, but I like things like that.

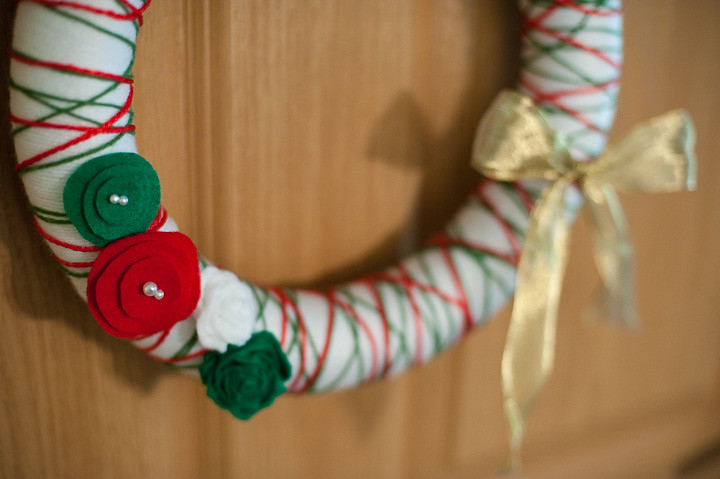
The next morning, I finished the flower decals, and had a run in with the hot glue gun in the process. The tip of my left ring finger is sporting a nice and tender blister from when I flailed my arm and accidentally touched the tip of the glue gun. I've never had the glue actually SEAR itself to my skin before, so much so that I couldn't just peal it off quick like usual. I had to run it under cold water for a minute or two and then carefully detach it from my skin. I'm still scarred from it, emotionally.

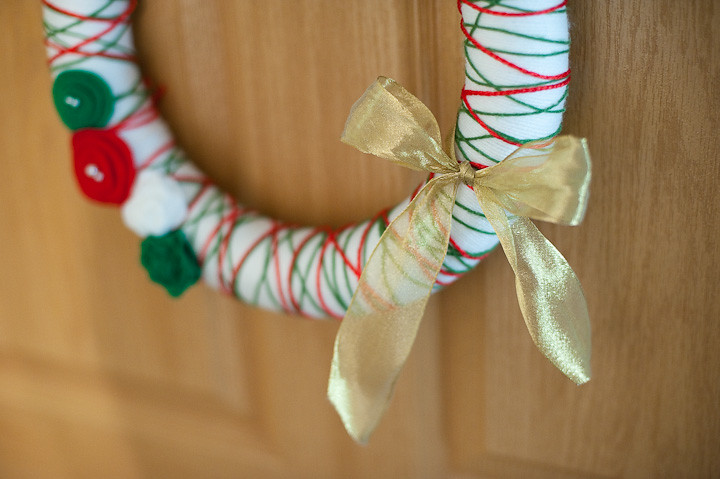
These wreaths can be made as neatly or as haphazardly as you feel like making them. They can be made for specific seasons or holidays, or as an everyday piece of décor in your home. Ours is now gracing our front door, to remind me every time I come home that it's CHRISTMAS TIME!

This week, a friend of mine and I are going to be crafting some wreaths again. This time, I'm going to make a summer-inspired wreath.
LKR_9355 LKR_9356 LKR_9357 LKR_9359

Sunday, January 16, 2011

Napa Valley and Art

Matt's siblings and his stepmom Lori, who works in the school system, went back to school on Monday while we were still out visiting. So Matt's dad Curt took on a photo expedition to Napa Valley.

It's not the best season to explore Napa Valley because the vines are all dead and have been trimmed up for the next season's crop. But still. There was green grass, yellow flowers, brown dirt and branches, and I wasn't wearing a winter jacket. I was happy!

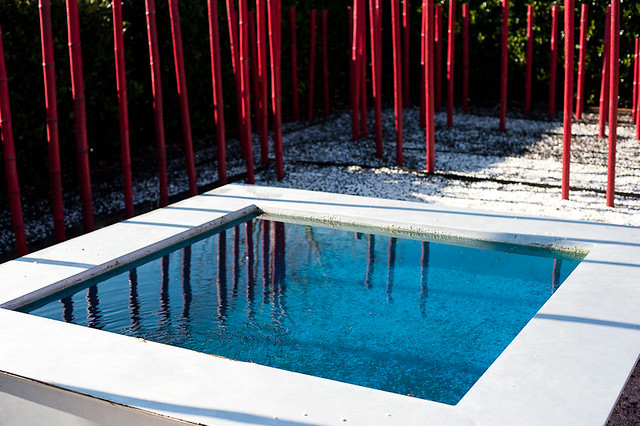
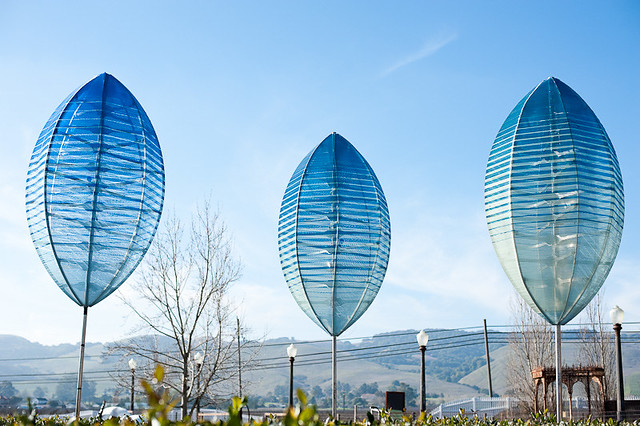
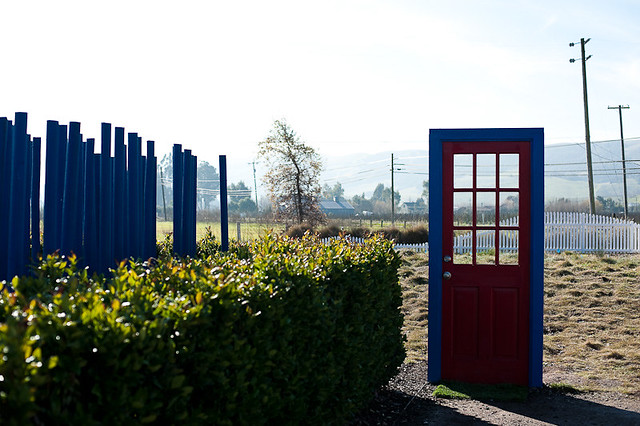
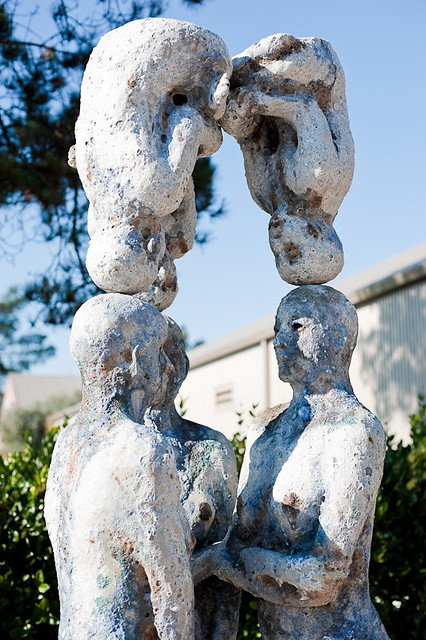
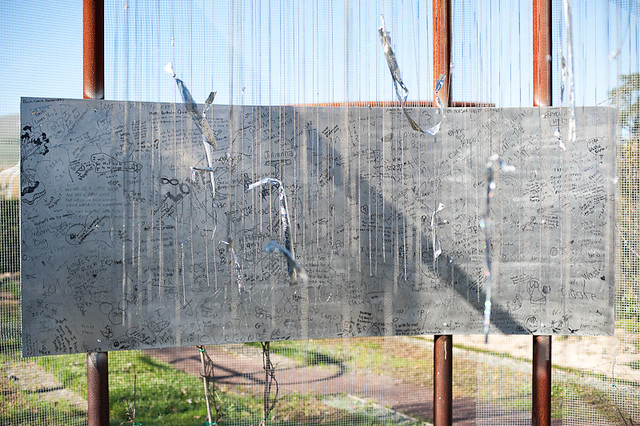
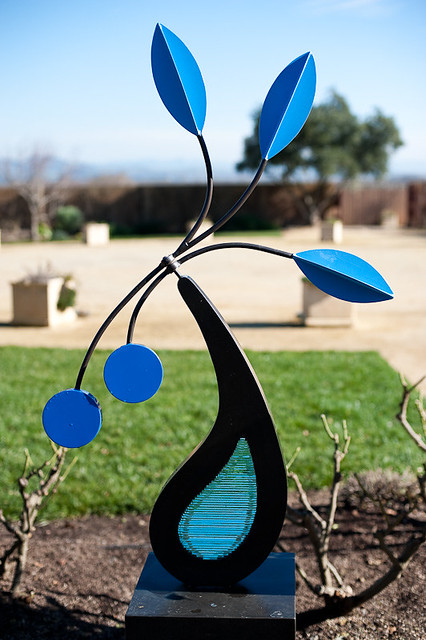
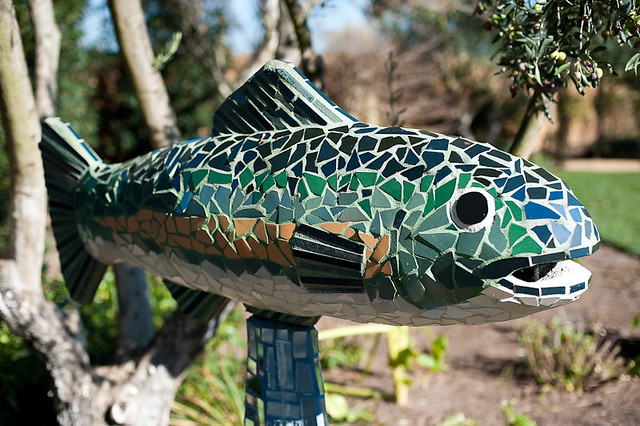
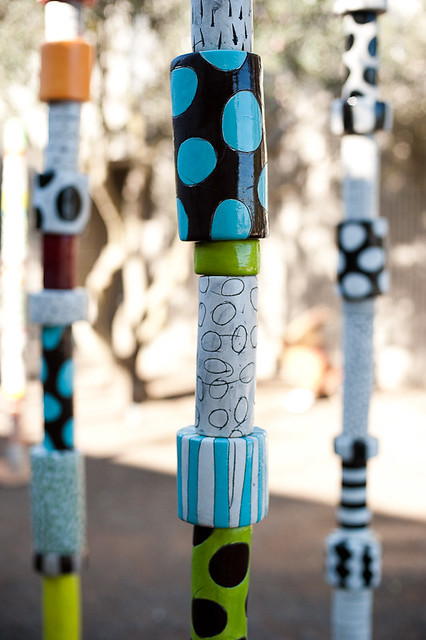
We started out visiting the Cornerstone Gardens in Sonoma. Basically, it's a series of gardens that are designed by artists all over the world. They are unique and a little off the wall for a concrete sequential person like me. I can't draw, paint or sculpt, so that type of art sometimes escapes my understanding. But - they all made great photographic subjects, and while I might not understand the art, I can sure appreciate it.

LKR_4366

LKR_4373

LKR_4375

LKR_4387

LKR_4394

LKR_4408

LKR_4457

LKR_4465

LKR_4471

LKR_4482

After walking through the gardens, Matt and Curt did a wine tasting and then we hit up a well known drive up restaurant called Taylors, but I think it changed names to Gott's or something like that. My chicken strips were goooood! We walked through the lower levels of the Culinary Institute that is in Napa Valley and then headed back to Sacramento for one last dinner as a family before we were to fly out Tues morning.

LKR_4504

LKR_4508

LKR_4522

LKR_4551

LKR_4553