

Last week, I was at JoAnn Fabrics looking for some twine/jute, and I stumbled across some ring blanks in the jewelry section. I immediately remembered the fabric flower ring tutorial and decided to try it, so I bought the ring blanks.
I whipped up 6 rings before dinner on Friday, and then had fun wearing them over the weekend. Then, I decided to write a little tutorial for those of you interested in making your own. But let me preface my tutorial by saying I took the photos for this while Matt was at work, so I didn't have him there to help. I did my best with a self timer and a tripod, but I apologize if the photos aren't as clear as you might like. It's tough to use both hands and take a photo at the same time!
Ok, onto the tutorial!
To make these flower rings, you will need:
*Fabric: a strip about 3/4 - 1 inch wide, and maybe 12 long. The longer the strip, the bigger in diameter your flower will be.
*Hot glue gun and glue sticks
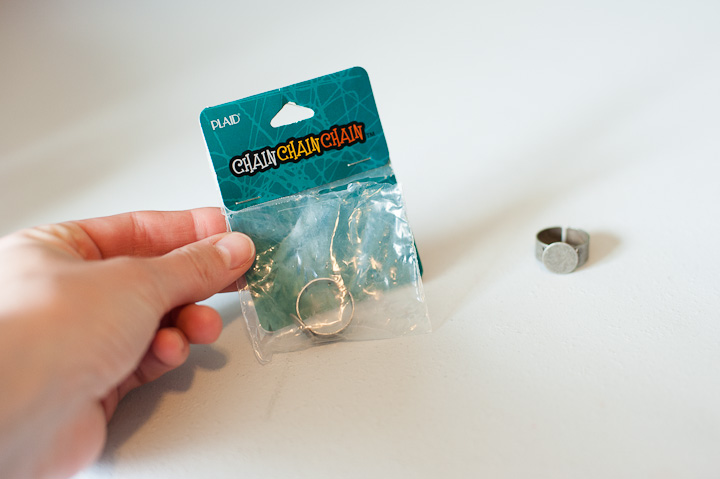
*Ring blanks [the photo below shows the ones I bought at JoAnn Fabrics. They came in a pack of 8 for $3 I believe. They are somewhat adjustable.]
 There are two ways to start these fabric flowers. I am going to start with the way I usually make them, and then show you the alternative way at the bottom of the post. I know many people make their rosettes using the second method.
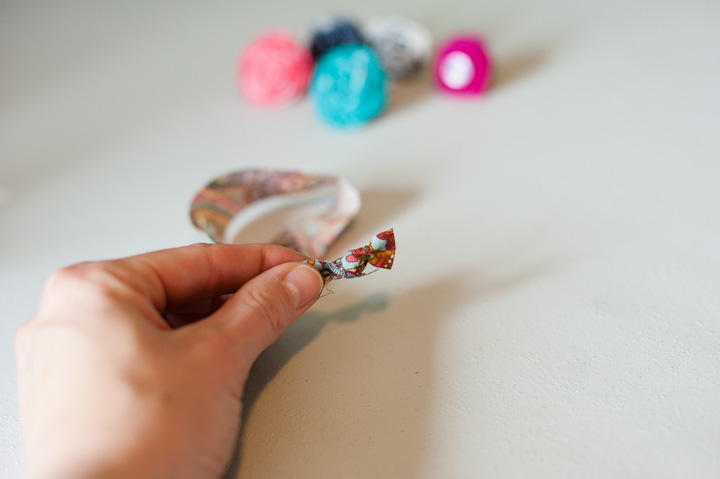
To begin, heat up your hot glue gun. Take your strip of fabric and tie a knot close to one end. This will be the center of your rosette.
 Next, put a small dab of hot glue on the side of the knot, and then twist the fabric strip, and touch it to the glue spot.
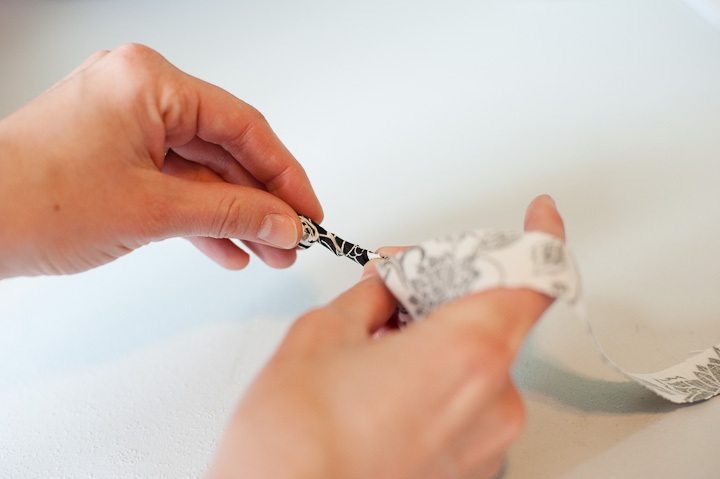
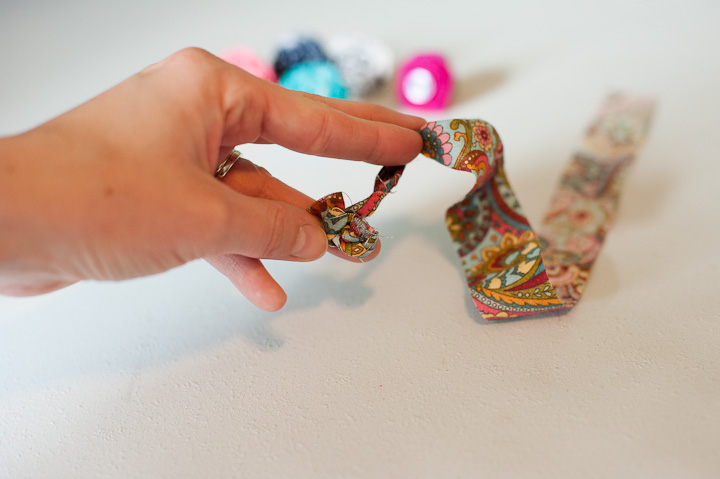 This is repeated around the rosette - put a dab of glue, twist the fabric, and then touch it to the glue spot. Keep doing this and you will see your rosette form.
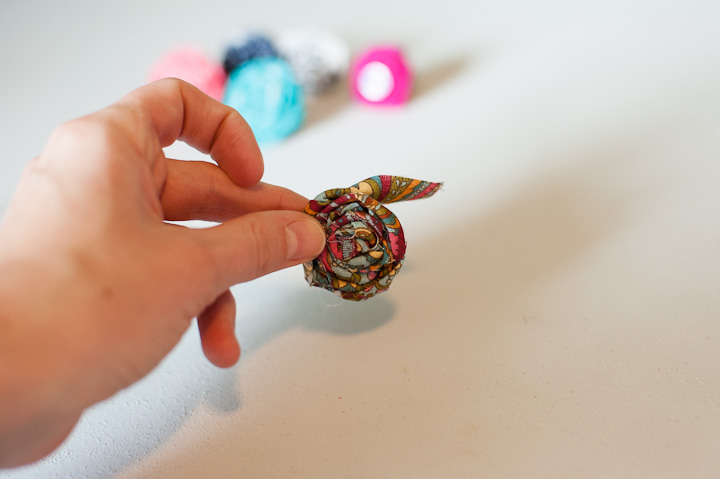 Continue to do this until you have a little over an inch left. This fabric tail will form a smooth bottom for your flower. Put some hot glue on the bottom side of your flower, and then glue the fabric tail down. Trim any excess, so you can see if from the top.
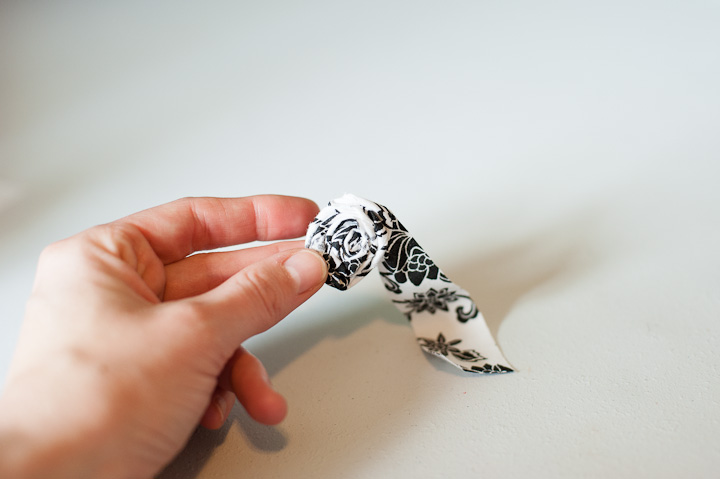
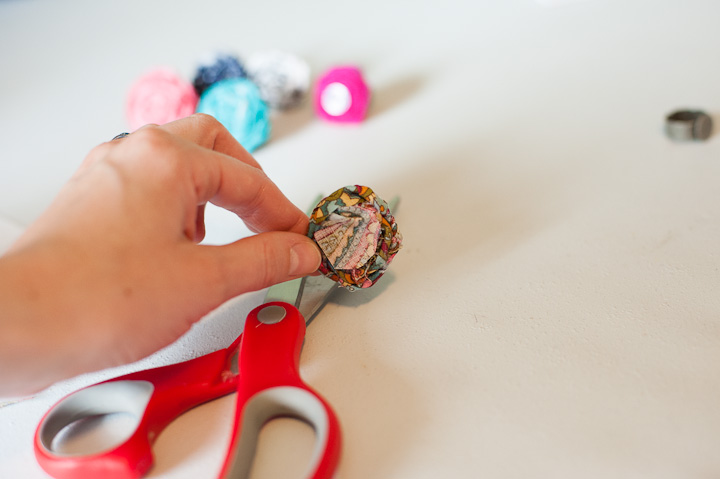 Once your rosette is finished and the tail is glued to make a bottom, take your ring blank. Put a healthy dose of hot glue on the ring blank, and then position it in the middle of the bottom of your ring.
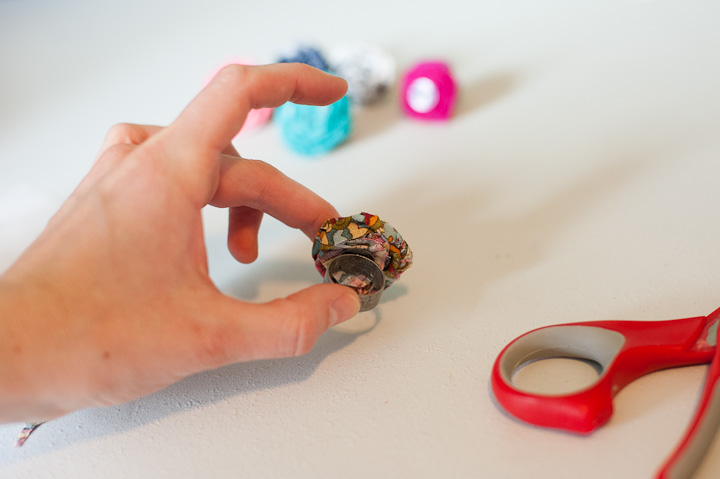 Ta-da! Your fabric flower ring is finished!
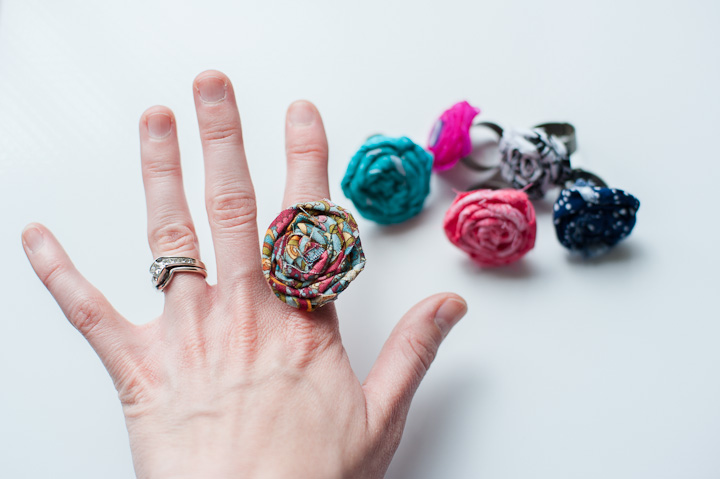 Here's the other way to begin the rosette. Instead of tying a knot, take your strip of fabric, and put a small dot of glue on one end. Fold the strip in half. Then fold it in half again, putting another dot of glue in to secure it.
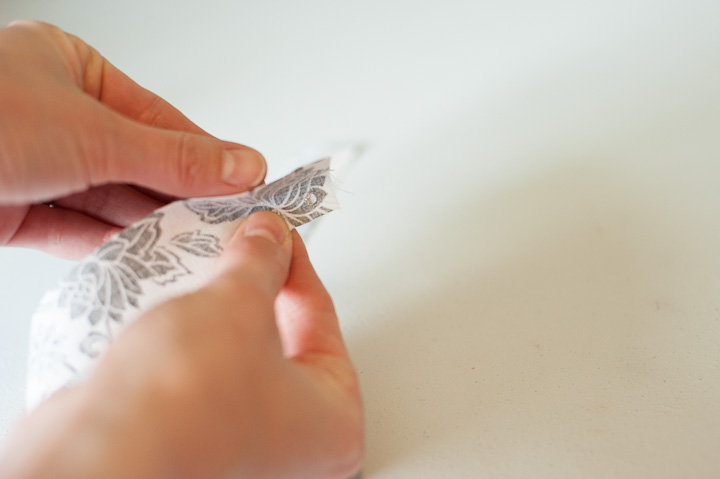 Now, roll your strip several times tightly. This will become the center of your rosette. Then, continue with the twisting/gluing to the edges of the rosette as I listed above.
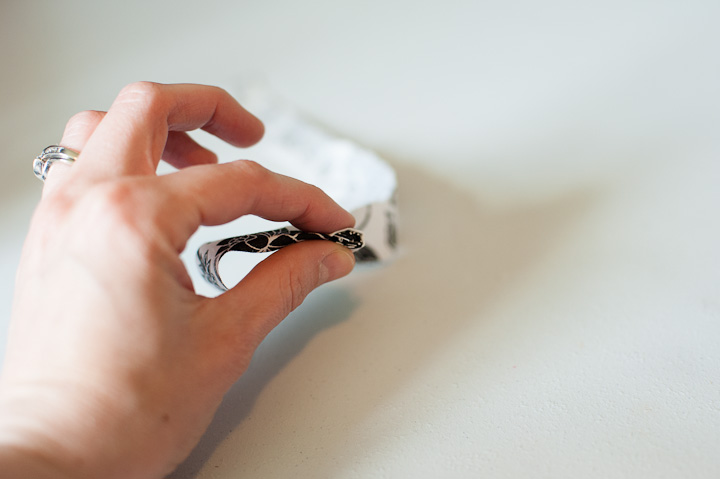
 These little flowers are so easy and so cute! They spice up any outfit, and are so easy to make, you can make them in every color! You could also try to use ribbon instead of fabric - the steps would all be the same.
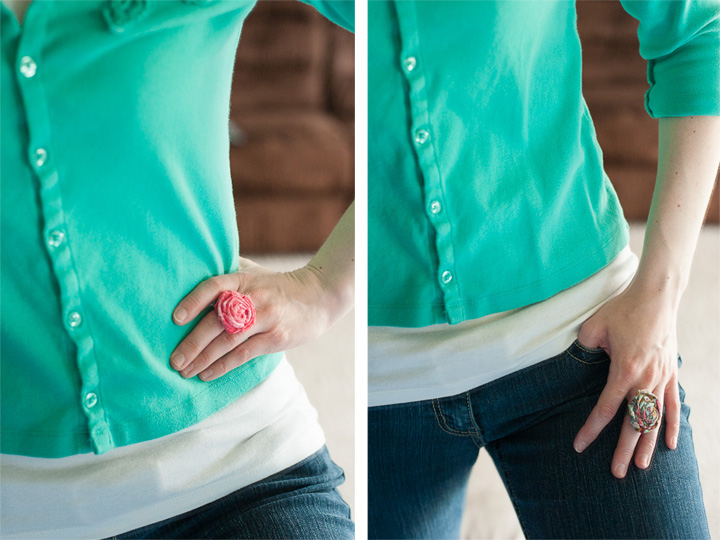 Good luck and happy crafting! Let's see your creations!


No comments:
Post a Comment
COMMENTS!!! I can't wait to hear from you!