

Love you, Nancy! :)
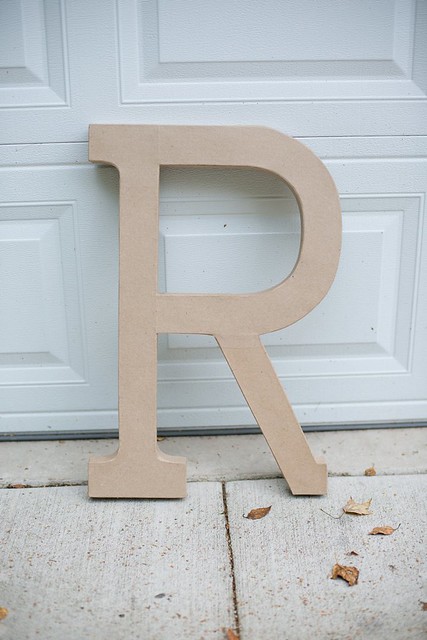
One weekend in September, my mom and I went down to St. Cloud to explore the massive craft store and spend my gift card. While walking through aisles of ribbons, fabric, jewelry beads and more, I saw a huge cardboard R that jumped out at me.
"Laura! Look, an R! Pick me! Buy me!"
That's what it said to me.
I immediately thought about covering it with fabric flowers which I LOVE to make, and hanging it on the wall in my new house. I picked the R up and added it to my shopping cart.
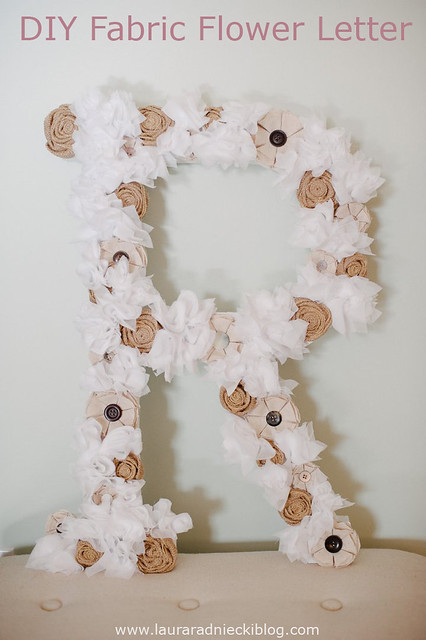
Here's how I turned a huge cardboard R into wall art in my new home!
This R is huge - maybe 2 feet tall from top to bottom. I just loved it when I saw it.
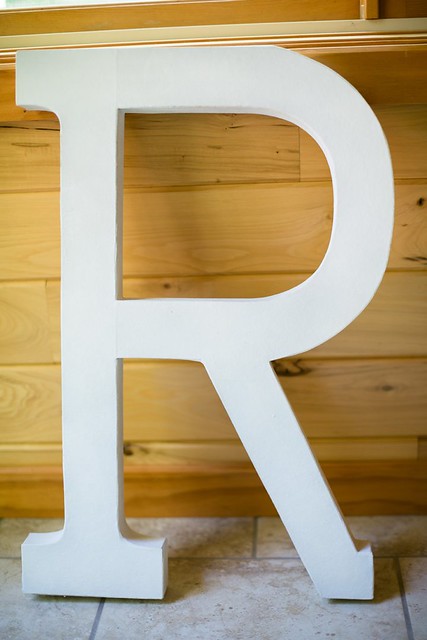
The first thing I did was decide on the color scheme for the fabric flowers. I knew I wanted to use burlap and osnaburg fabrics which I am obsessed with, and I thought the natural browns of those fabrics would look good with white tulle which I had around my house already. Because of the colors I chose, I decided to spray paint my letter white so it would be a good neutral canvas for my flowers.
If you decided on different colored flowers, you could spray paint your letter any color you wanted. Or just leave it natural!
I spray painted my letter white on all surfaced, even a light coating on the back.
I am not going to include details on how to make the fabric flowers here. If people are interested, maybe I will do future tutorials on the 3 kinds of flowers I made to use here? [Shout if you're interested in a post like that in the future.]
Pinterest is FULL of fabric flower tutorials, so you can start there if you want to know how to make some different types now.
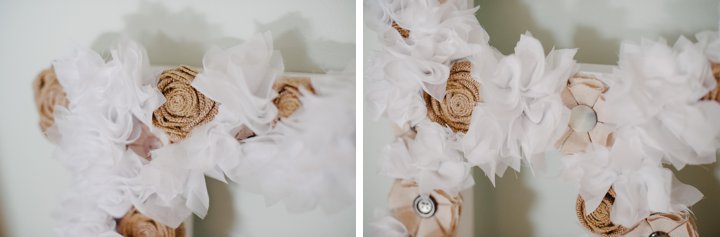
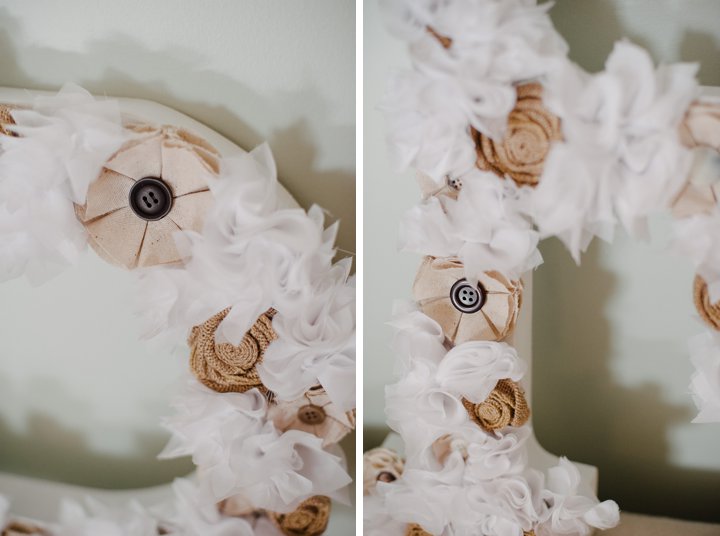
I used burlap wired ribbon to make the rosettes, osnaburg fabric and buttons to make the petaled flowers, and white tulle to make the puffs. [Those puffs were a pain in the you know what to make.]
I love the outcome, and the natural tones of the R.
I decided to only cover the front surface with fabric flowers.
I did this for 2 reasons - the flowers take a long time to make and I was tired of making them once I had the front surface all covered. Also, I thought it looked just fine with flowers on the front and bare sides, since my white letter matched my fabric flowers so well.
If you wanted to, you could put fabric flowers on all sides except the back.
The finished piece of art!
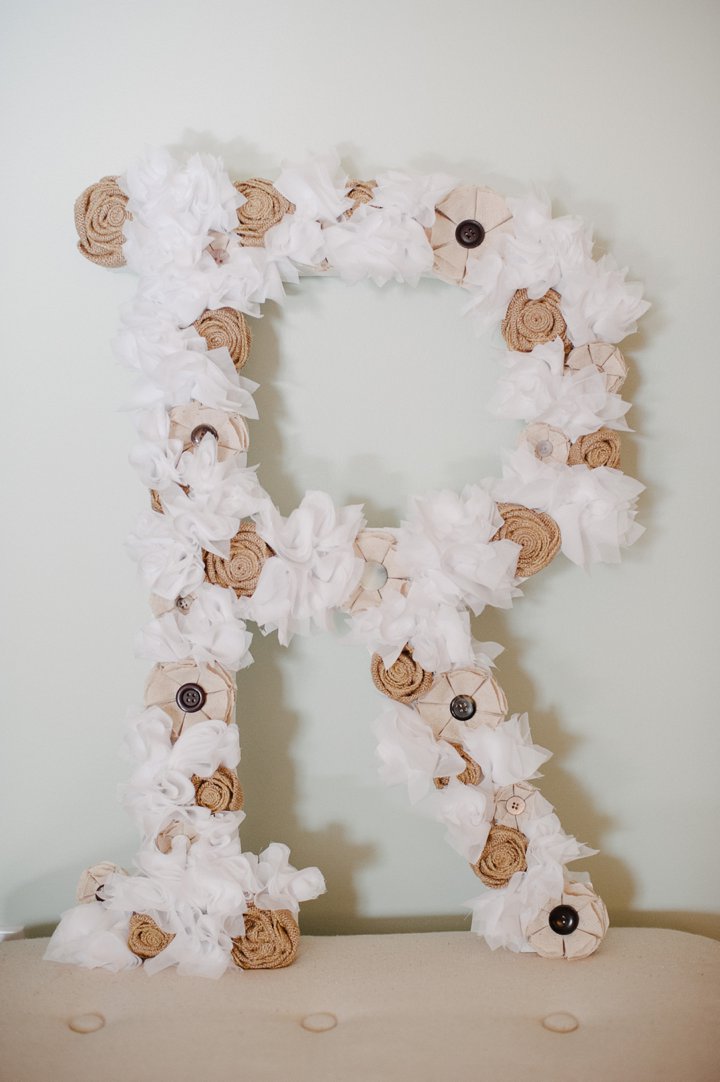
This is honestly my favorite piece of DIY art I have ever made.
Partly because I am so obsessed with fabric flowers and partly because I just love the look of it - the natural tones and the subtle elegance.
It is so light, it will be easy to hang. I just poked a hole in the back, and I'll hang it on a nail with a head.
Now, to decide which wall to hang it on...
[If you love this tutorial, spread the love with your fellow DIY-ers in Pinterest, Facebook or Twitter!]
xo! Laura


Ahhh Nancy! I'm so excited to see what you do with the flower idea! Take pics to show me?! Haha, I'm sure you do have a lot of left over burlap and canvas. I'm so, so thankful for the material you gave me!!! xoxo!
ReplyDelete