A while back, I read a blog post about a photographer who
created and printed her own workflow charts to keep her organized in the process of booking, shooting, and then editing a wedding or portrait session. I was intrigued, so I set out to make my own.
As a disclaimer,
this awesome company sells these workflow charts for pretty reasonable, and I think they are beautiful. I probably would have bought them instead of made them except that I'm A] Craft obsessed and B] Frugal so it's hard for me to buy something when I could possibly make it. In hind-sight, it would have probably been 110% worth the investment because I think theirs are prettier than mine turned out to be, and mine did take quite a bit of time. But anyway! :)
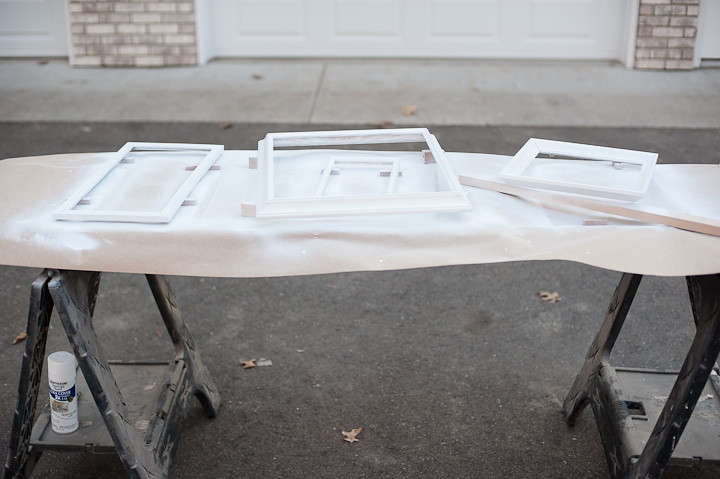
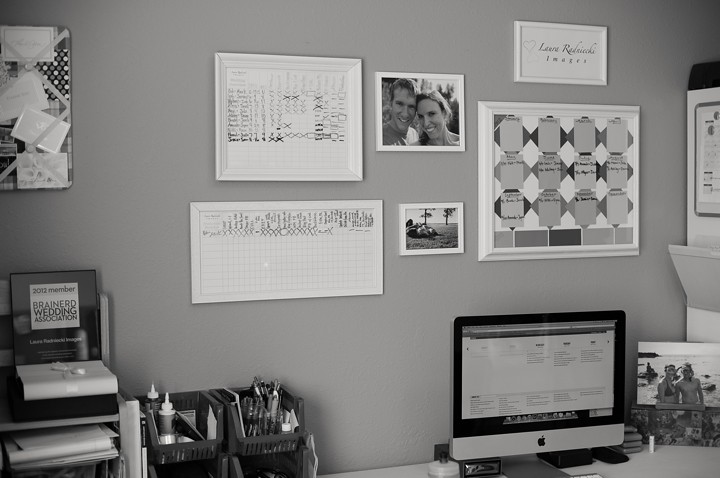
First, I dug through all the available frames at our local Salvation Army Thrift Store and found a handful that I liked. I had ideas in my head of what I wanted to great - I wanted a big calendar, I wanted a post-production chart [for my editing workflow] and then a place to keep all of my wedding clients in one place, so I could see what still needed to be done in their pre/post wedding workflow. Plus I wanted a couple others for fun photos of Matt and I, and one for my logo.
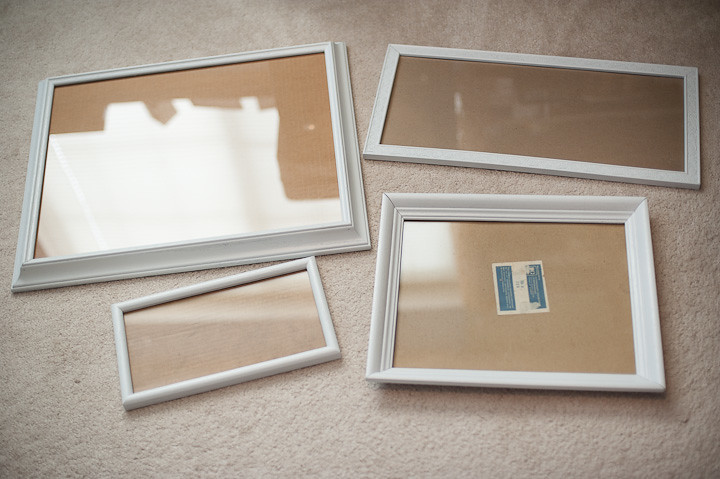
Once I found frames that would work and I cleaned them up a little bit with a damp rag, I spray painted them white so they would all match. Then came the tough part - making the charts!

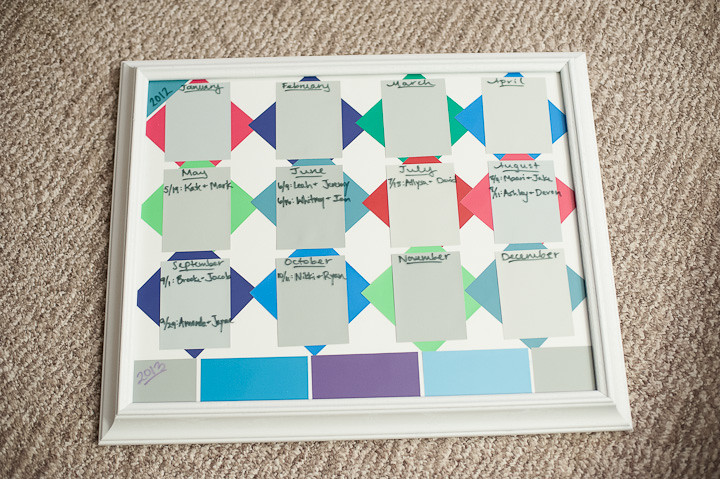
The calendar was created using an idea from
Bethany and Dan's blog - using free paint chips from
Benjamin Moore and making a calendar that can be reused. All of these frames came with glass, so I can write on them with a whiteboard marker and then use water to clean/erase and start over again! No more making new charts each year. I ordered free paint chips from Benjamin Moore and made the calendar by creating a design that I thought looked fun.
Next came designing the wedding workflow and post production workflow charts. I initially tried to make them in Photoshop but I had a headache in 2 minutes. I ended up making them in WORD and then I believe I exported them and opened them in PS. I made it the size I wanted and then saved it as a jpg for ordering.
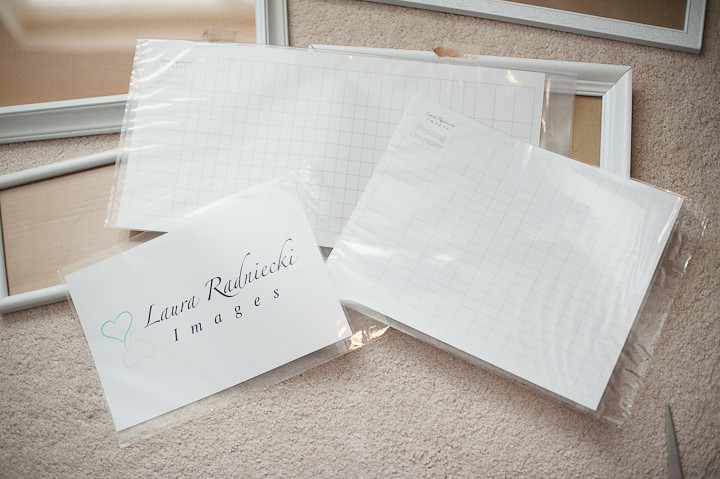
I chose not to put the steps of my workflow directly into the chart for several reasons, the main one being that I have changed my workflow several times over the last 3 years and I anticipate it to change more in the future as I continue to fine-tune and tweak my process. I didn't want to make the chart, put the steps into the chart directly, order it, and then 4 weeks later change my process and have a chart that is no longer correct. Instead, I left all the spots in the chart blank except for my logo and the title of each chart, and then filled it in on the glass side with a marker. Easy to change in the future if need be!
The downside to doing it this way is that you're writing with a whiteboard marker and even though I found the finest-tipped ones I could, they still smear a little. It's sometimes hard to read what I wrote, and it looks messier than it would have if the steps had been printed directly on the chart. But to avoid the hassle of remaking/reordering a new chart with each production change, I can deal with the hint of messy!
I am still getting into the habit of using these, but I do think they help. Especially when it's the first few weddings/sessions after the winter slow season - I always feel like I'm missing a step or I skipped something, and this chart helps me know that I didn't! Plus overall, they were fun to make and we all know how much I love craft projects!


this is awesome!!! I need to do this too! :D thanks for posting so many great ideas laura!
ReplyDeleteLove this, Laura! Great way to stay organized!
ReplyDeleteTHey look awesome. Any chance you'd sell the smaller jpg? I don't do weddings but it would be helpful for my seniors. (especially as I *gasp* forgot to burn a DVD!)I was horrified. Luckily they were personal friends and they had lots of grace.
ReplyDeleteGreat idea! Now just put them in a box and mail them to me. That would be great.
ReplyDeleteI'm going to steal this idea for my workspace too!
ReplyDeleteI have a menu chart in my kitchen that's sort of the same idea. I found markers that work great are ones for overhead projectors. They are very fine tipped and don't rub off accidentally unless you use a damp q-tip or cloth to clean it. I have no idea if anyone even uses overhead projectors any more. but I got the markers at wal-mart.
:)
Thanks for stopping by, ladies! I am glad you were inspired by this! I hope it brings peace of mind to your workflow!
ReplyDeleteHey! This looks fantastic! I should make those workflow charts too.... heck, you should sell them!
ReplyDelete