Previous posts in the Our First Home series:
The Before Photos
Phase One: ripping up the carpet, and painting
Phase Two: Hardwood floors
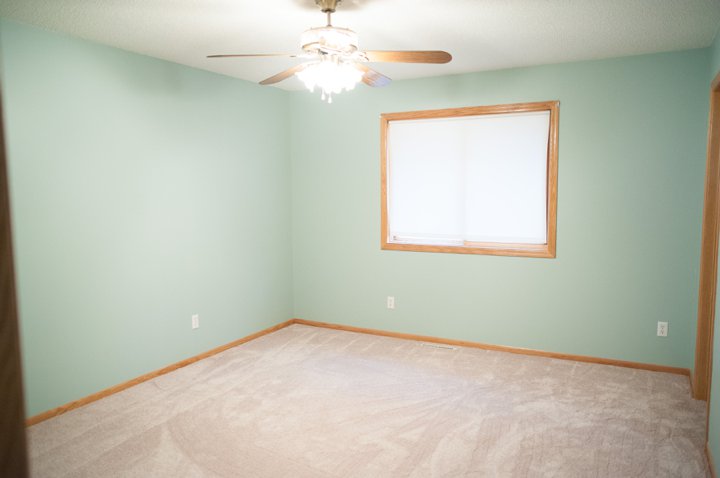
The hardwood floors in the living room, kitchen and dining room are now complete! The walls are all painted, and we are ready for carpet and tile.
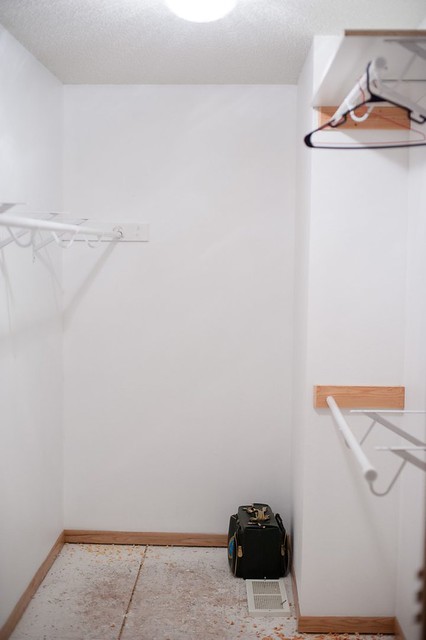
My dad did a little revamping in our master walk-in closet. He took out the existing shelf on the right side and made two shelves instead, allowing us to hang jeans on the lower rack and shirts on the top. This eliminates wasted space and gives us much more room.
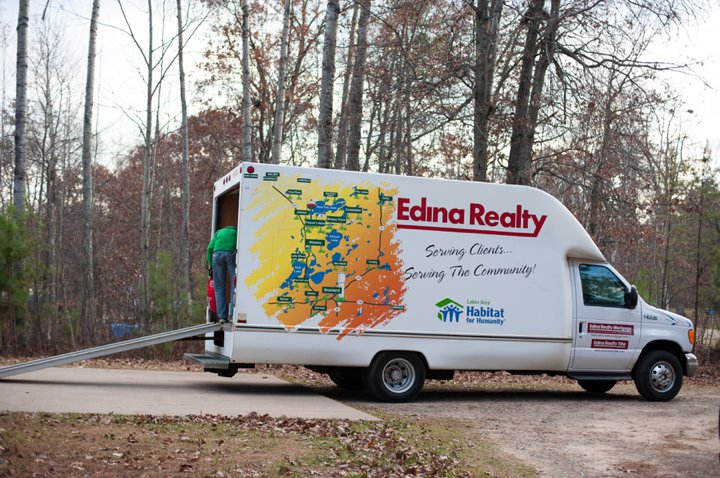
 The day came for us to move out of our apartment so we used the courtesy van from our realtor and with great help from Matt's brother and Matt's friend, moved all our belongings over in one day.
A huge thanks to my mom and Matt's mom and sister for helping us pack up our stuff into boxes too!
The day came for us to move out of our apartment so we used the courtesy van from our realtor and with great help from Matt's brother and Matt's friend, moved all our belongings over in one day.
A huge thanks to my mom and Matt's mom and sister for helping us pack up our stuff into boxes too!
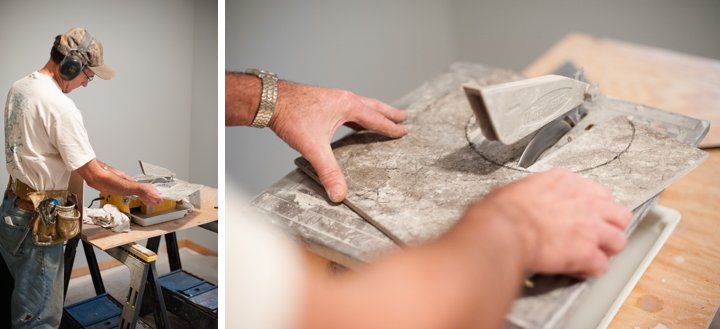
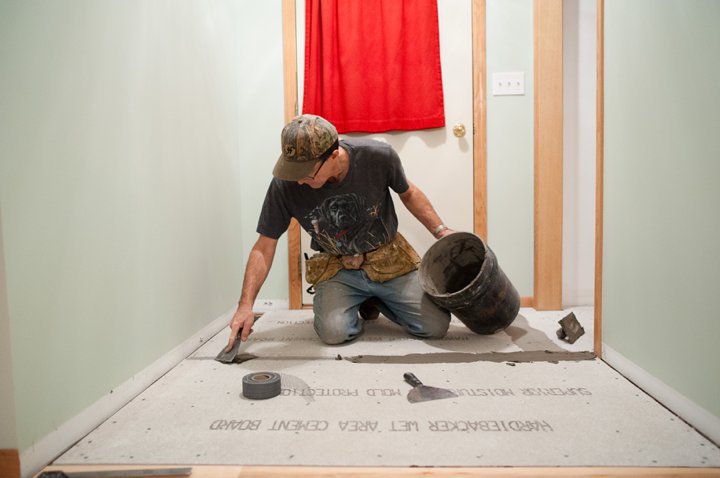
 Next, it was time for tile!
We chose a slate gray tile with lots of variation in the patterns. It hides dirt and hair like crazy, making it the perfect bathroom tile!
Next, it was time for tile!
We chose a slate gray tile with lots of variation in the patterns. It hides dirt and hair like crazy, making it the perfect bathroom tile!
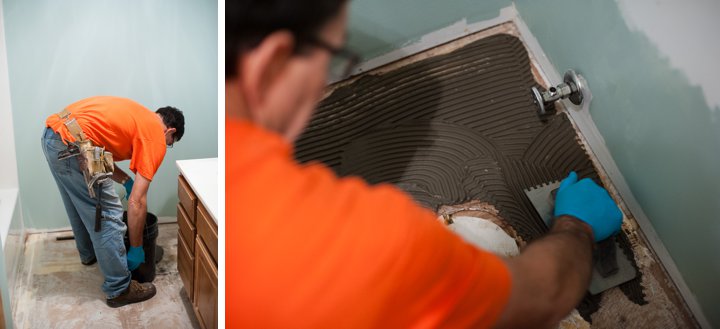 Dad, cutting a hole for the toilet.
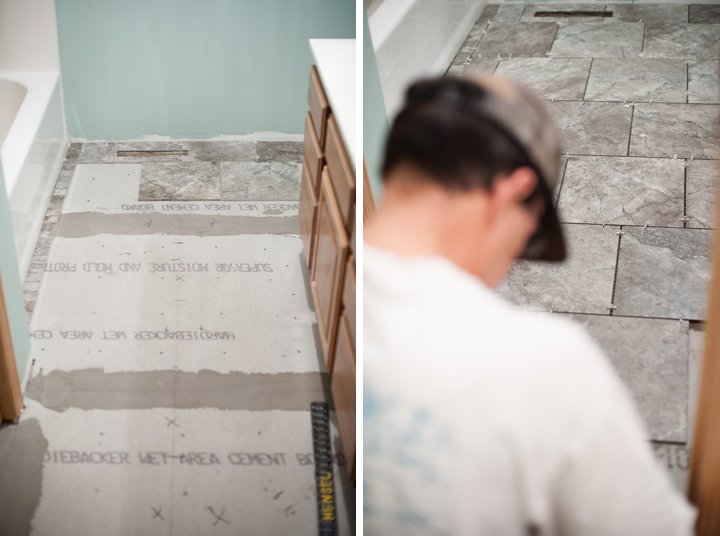
 Laying the tile in an offset pattern that Matt thought up.
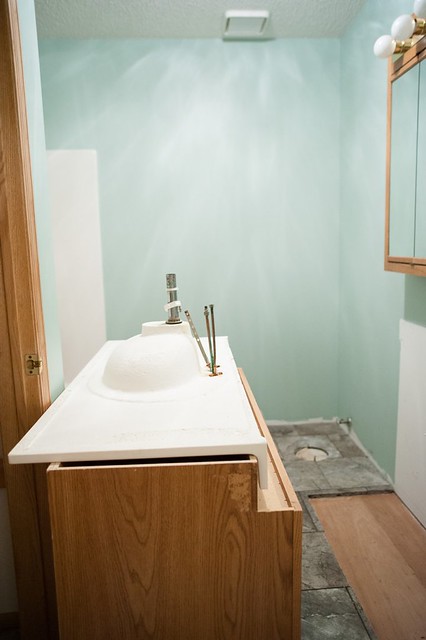
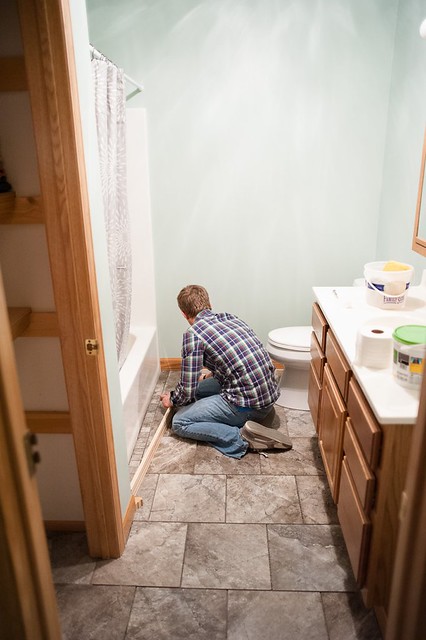
 The bathroom sink was really low so my dad made a riser for the bottom to raise it up 4 or 5 inches.
 The second tile section: the front entry way.
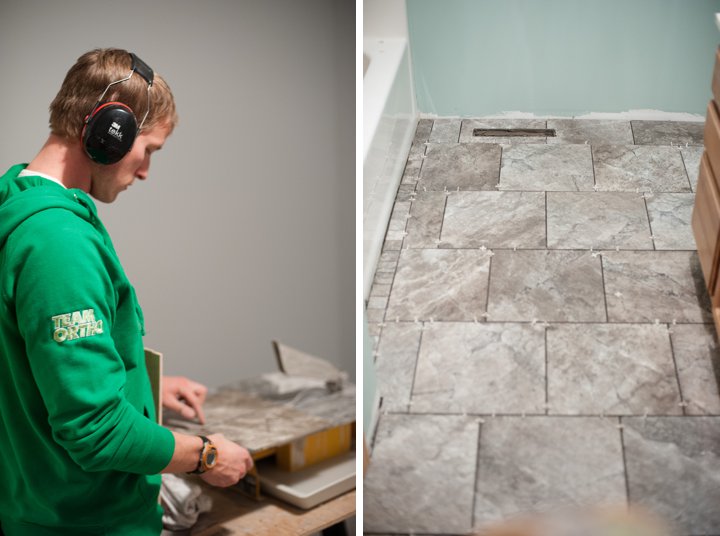
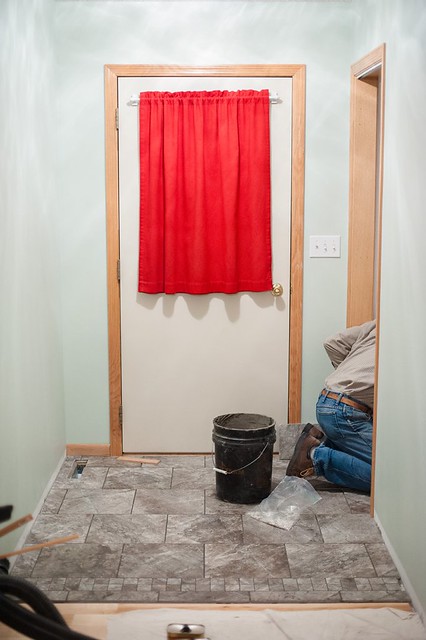 My dad laid all the tile, but Matt and I did the grout ourselves after watching my mom do a small section. It's fun to see the finished project and know we helped to create it!
 Then, it was carpet installation day!
We chose a very plush light sand colored carpet and the thickest pad we could afford.
The result is carpet that makes people say "Wow, this is so squishy!" when they walk on it!
Then, it was carpet installation day!
We chose a very plush light sand colored carpet and the thickest pad we could afford.
The result is carpet that makes people say "Wow, this is so squishy!" when they walk on it!
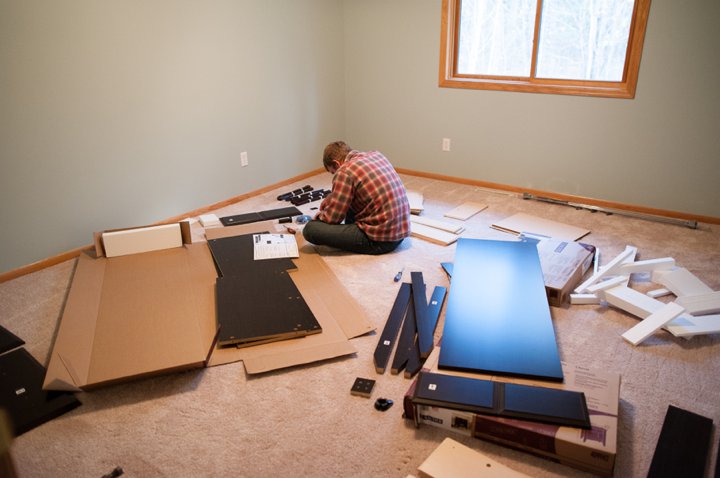
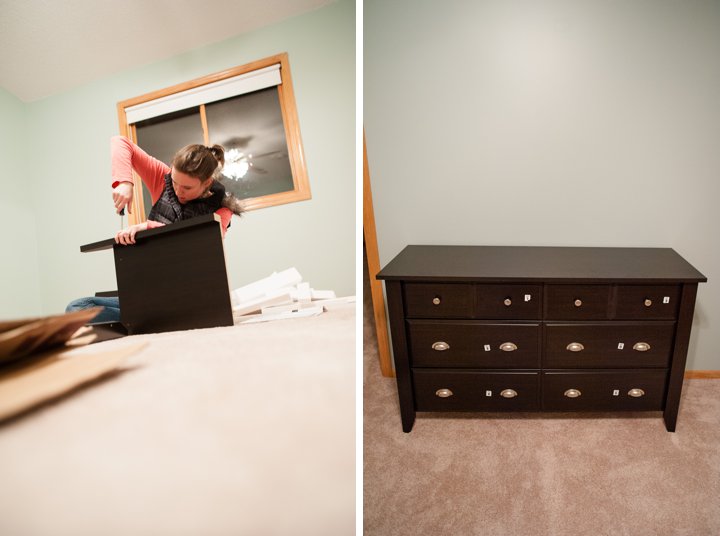
 The dresser and night tables that Matt and I have been using since we lived in Hawaii were pieces that I either found at garage sales or rescued from the side of the road and repainted.
Needless to say, they were cheap and weren't the nicest pieces you've ever seen.
We decided that it was time to own something that hadn't once had a cockroach living in it, so we started looking around for a decent dresser/night stand set. I found one I liked at Ikea but didn't buy it right away.
After looking around town here, I found a set very similar in appearance to the one at Ikea, at our local Menards. Perfect!
I made it a requirement that we deliberately follow the directions. Otherwise, it would be next to impossible to assemble this type of furniture!
The dresser and night tables that Matt and I have been using since we lived in Hawaii were pieces that I either found at garage sales or rescued from the side of the road and repainted.
Needless to say, they were cheap and weren't the nicest pieces you've ever seen.
We decided that it was time to own something that hadn't once had a cockroach living in it, so we started looking around for a decent dresser/night stand set. I found one I liked at Ikea but didn't buy it right away.
After looking around town here, I found a set very similar in appearance to the one at Ikea, at our local Menards. Perfect!
I made it a requirement that we deliberately follow the directions. Otherwise, it would be next to impossible to assemble this type of furniture!
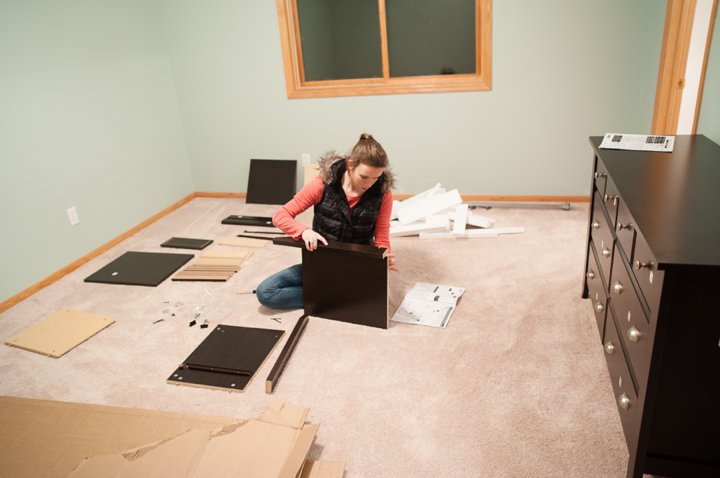 We did it!
The set included a dresser [below] and two matching one-drawer night stands.
We did it!
The set included a dresser [below] and two matching one-drawer night stands.
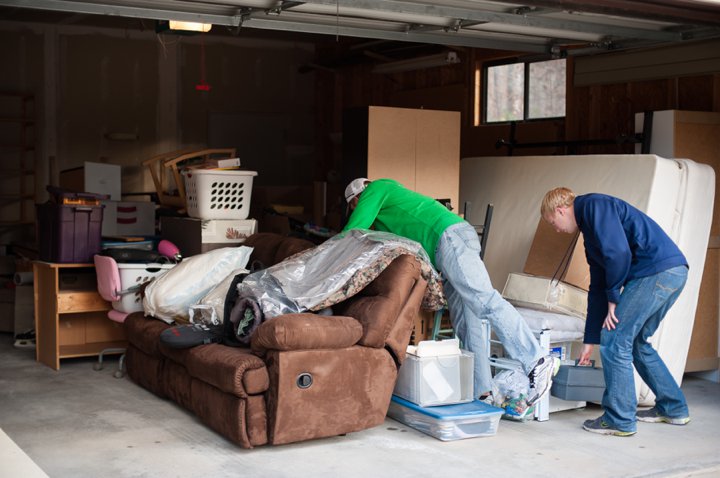
 Next, we started to bring furniture into the house from the piles in the garage.
All my office things here.
Next, we started to bring furniture into the house from the piles in the garage.
All my office things here.
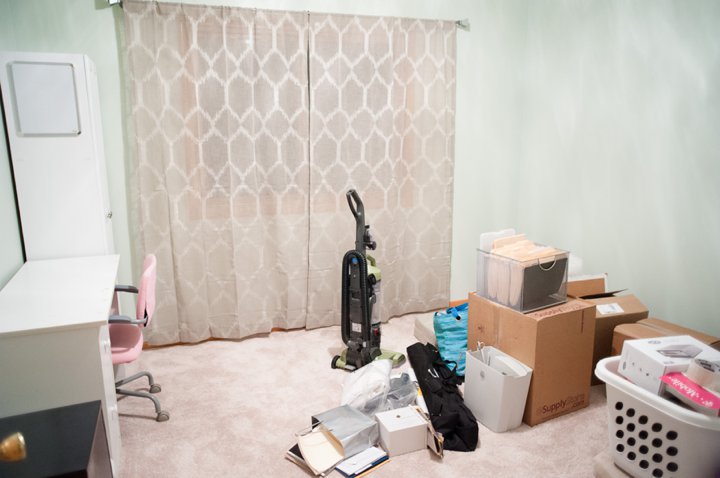 Sorting through clothing, using the guest room's open space.
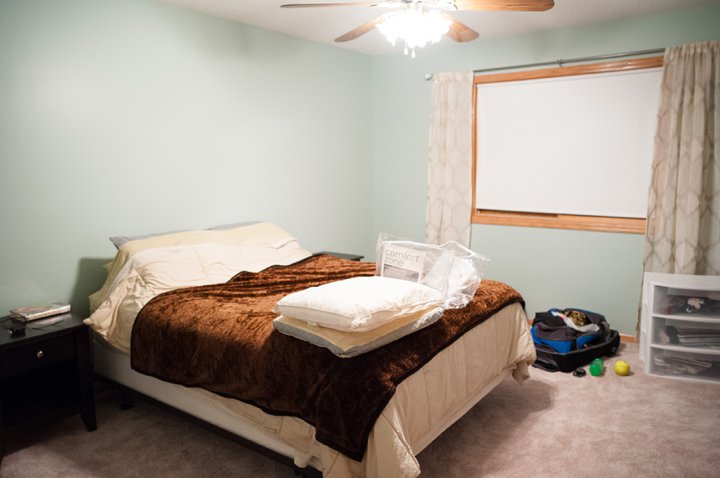
 Finally!
With our bed finally set up, we were able to sleep in our new house for the first time ever.
We closed on the house on October 16th, but weren't able to spend the night until the first weekend of November. It was a very long wait, especially when we now OWN a house but can't sleep there!
Thankfully, my parents let us stay in my old room at their house during the renovation process, so we could end our apartment lease and still get a good night's sleep.
Finally!
With our bed finally set up, we were able to sleep in our new house for the first time ever.
We closed on the house on October 16th, but weren't able to spend the night until the first weekend of November. It was a very long wait, especially when we now OWN a house but can't sleep there!
Thankfully, my parents let us stay in my old room at their house during the renovation process, so we could end our apartment lease and still get a good night's sleep.
 All that's left is to organize all of our belongings and find new 'homes' for everything.
The last post in this series will show the finished product - the current photos of our home now that we've lived here for 5 months! Stay tuned!
All that's left is to organize all of our belongings and find new 'homes' for everything.
The last post in this series will show the finished product - the current photos of our home now that we've lived here for 5 months! Stay tuned!


No comments:
Post a Comment
COMMENTS!!! I can't wait to hear from you!