

In the fall, I came across an end table at a garage sale and with the help of my carpenter dad, we attempted to make an ottoman out of the end table.
It worked. But it was extremely heavy because the table was big and bulky, we didn't use enough foam so it isn't very comfortable to sit on, and the corners looked disheveled and messy.
We figured there was a better way to make the second ottoman [I wanted one for my office and one for the living room], so we tried a different way.
Here's what we did the second time around.
First, we decided on the size we'd like the finished ottoman to be.
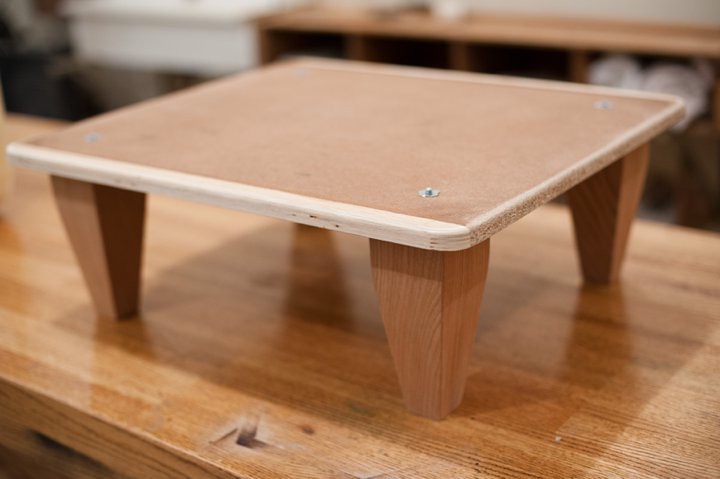
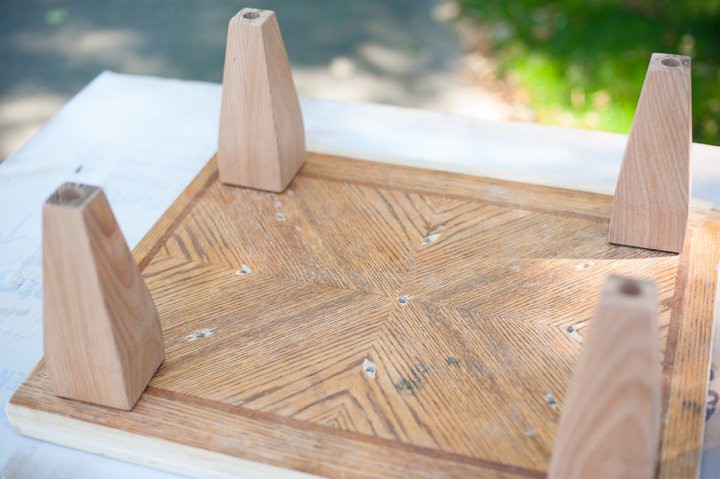
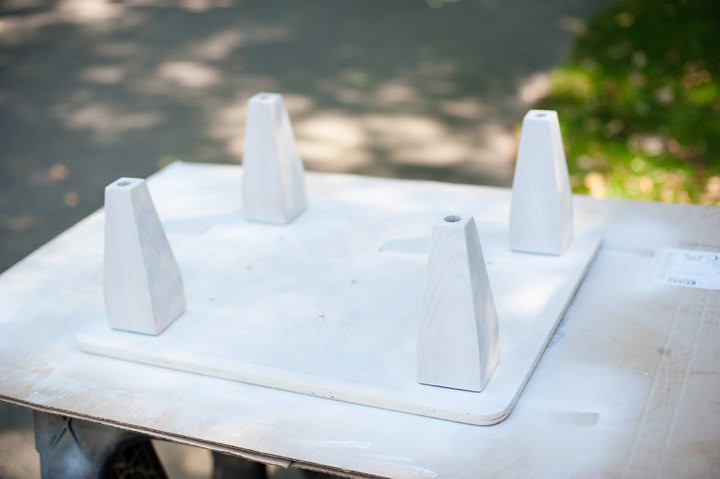
Then, we cut a simple board for the bottom of the ottoman and my dad made 4 legs of the desired length.
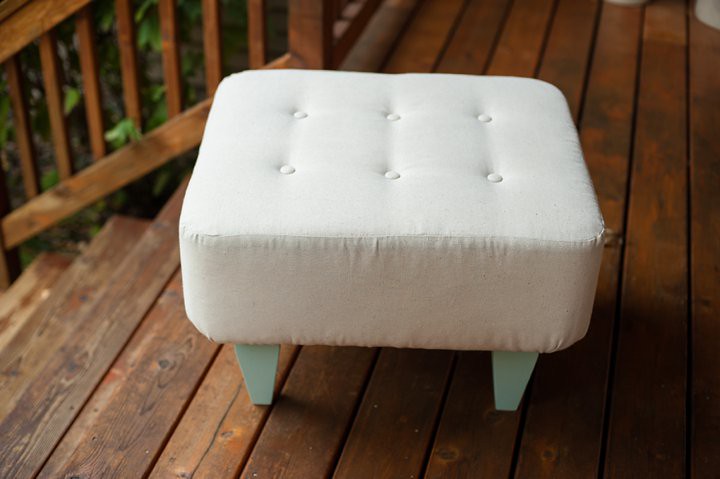
My dad, the amazing detail-oriented carpenter rounded the edges of the bottom board and created beautiful tapered legs for the ottoman. But your board can be rectangular, and your legs can be simple and plain. You can make legs or buy legs, it doesn't matter.
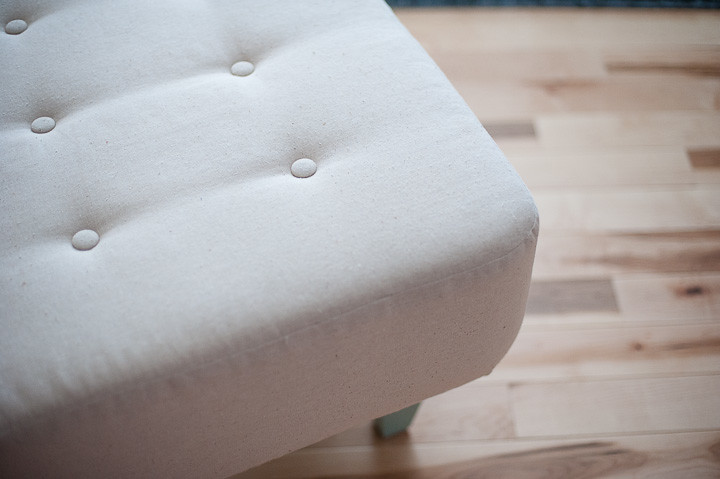
We also decided if we wanted to add buttons or not, and if so, how any button holes we would need. We drilled 9 holes here [see photos further down], but I ended up only putting 6 buttons on.
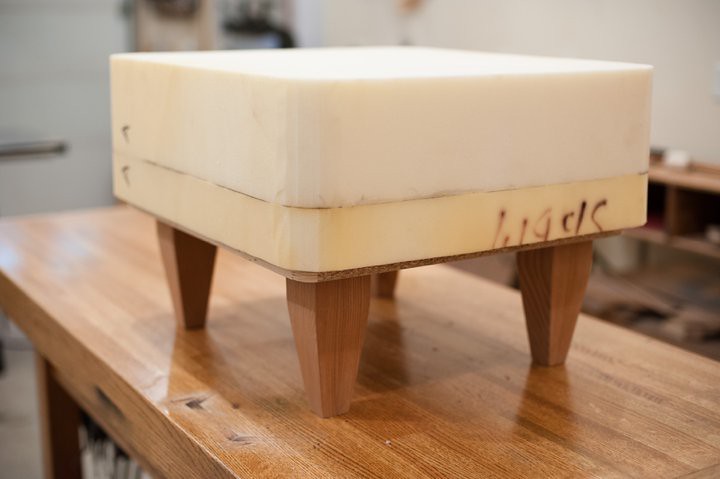
Next, we cut foam to the desired size.
This foam came from the inside of my parent's couch when they had it re-stuffed. I was lucky that I didn't have to buy foam, but you can get this at a craft store or any number of places.
The thicker the better - you want the finished product to be squishy and comfy.
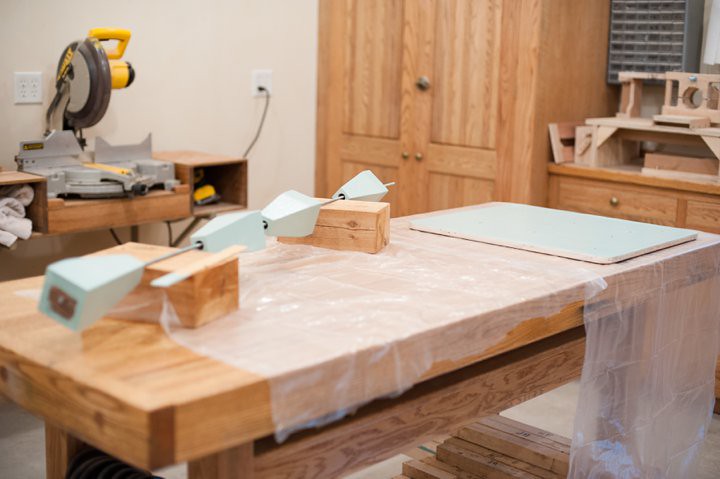
Next, I primed and then painted the bottom of the board which is the bottom of the ottoman, and then all four legs.
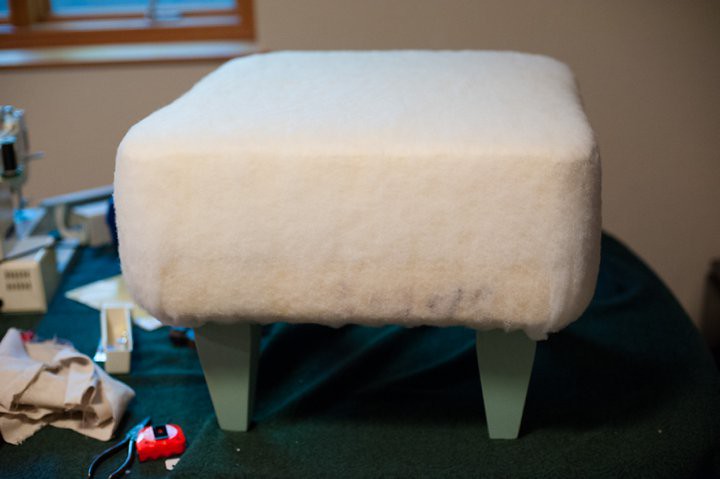
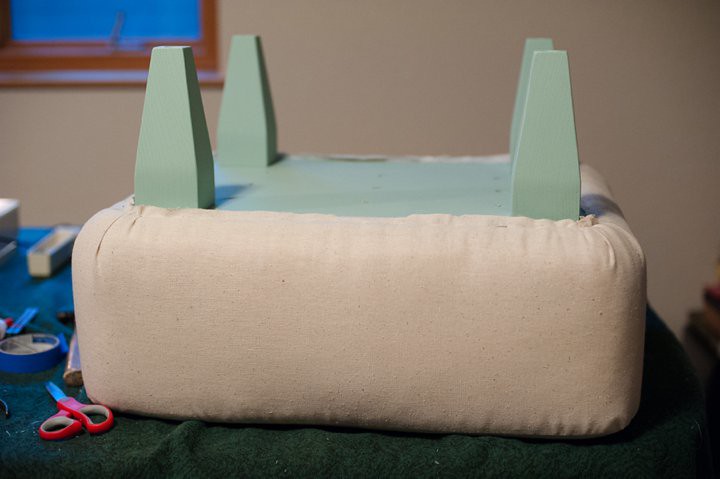
Next, we used hot glue to secure the foam to the bottom board.
Then, we took batting and wrapped it around the foam, stapling it to the bottom of the board. This helped to create a nice rounded shape to the ottoman.
The first time around with the first ottoman, we simply cut a large square of fabric, stapled all four sides of the fabric to the bottom of the ottoman board, and then tried to make the corners look as nice as possible by pulling them tightly together and then stapling the fabric to the bottom of the ottoman. But they looked lumpy and disheveled no matter what I tried. If you don't sew, this method is just fine. It's just a little more DIY looking.
If you can sew a straight line, this next method worked well.
We measured and then cut two pieces of fabric: one for the top [the rectangular top surface of the ottoman] and then one very long skinny rectangle that covered all four sides of the ottoman. We cut rounded edges on the top rectangular piece which helped to create a smooth, rounded finished look.
Make sure you measure accurately because this has to fit over the ottoman and should be snug without being too tight. You don't want it to be too loose either. You also want enough fabric to staple the long piece under the ottoman board at the end.

I carefully sewed the long skinny edge piece around to all four sides of the top piece. The corners are tough, you have to go slow. Then, sew the two ends of the long skinny piece together too, creating a finished cover - inside out.
Once you're finished sewing, you turn it inside out and you have your fabric cover.
Next, we slipped it onto the ottoman, turned the whole thing over and stapled the fabric to the bottom of the ottoman. The corners still require a little strategic stapling but it's much neater and cleaner looking than the large fabric rectangle method is.
It's really personal preference though - both ways will give you a finished ottoman! You decide what works best for you.
Next is the button step.
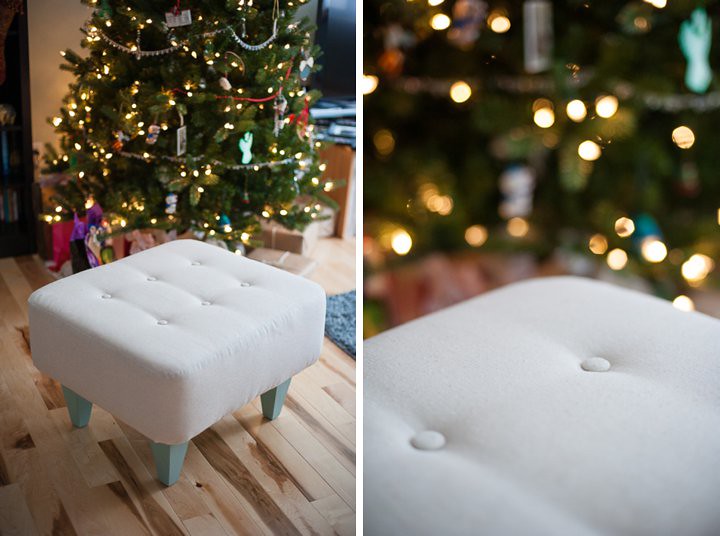
I bought a button kit at my local craft store, and used some of the fabric scraps to make matching buttons. You could make contrasting buttons with different fabric if you want to, but I wanted the clean, polished look of matching buttons. [See finished ottoman photos to see finished buttons.]
There are probably many methods for installing these buttons. I don't know what is the easiest, google could probably tell you. We didn't google it - we just experimented.
We used a really long metal needle [longer than your board+foam height] to poke up through the holes from the bottom, up through the top of the foam and fabric. Then, we lopped on the finished button, and then came back through the fabric, and back out the hole on the bottom of the ottoman. Then, we took a regular button, and used that to tie a tight knot. This allowed us to control how deep the finished button sunk into the top of the ottoman, and made it easier to tie.
[Please note - there may be a super simple way of doing these buttons that we didn't know about. This is what we did and it worked out ok. Ok, carry on. :)]

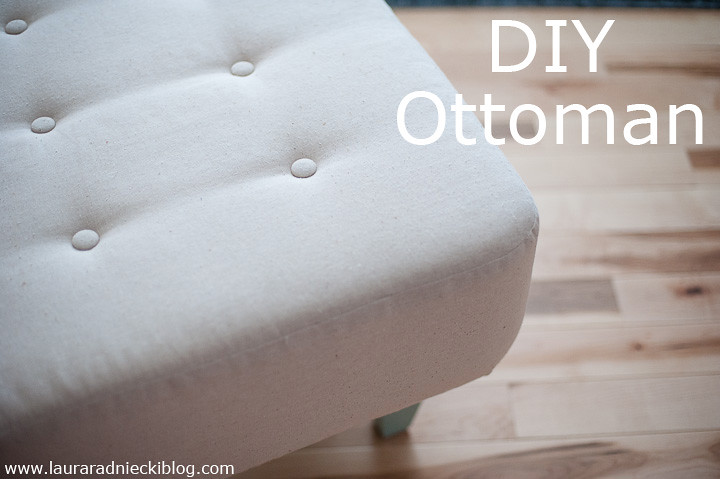
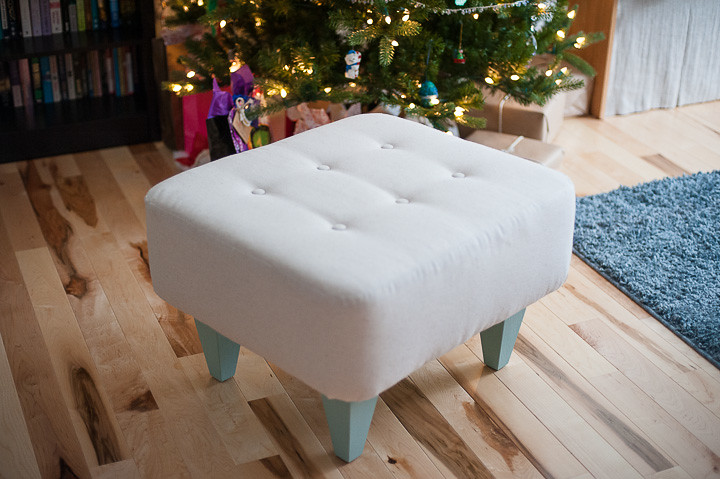
After the buttons are installed, viola! The ottoman is DONE!
The cost of this ottoman for me was very cheap because my dad used wood he had around the house, and the foam came from their couch. The only expenses for me were the fabric, paint, batting, and button kit. Even if you have to buy all the pieces though, it can easily be done much cheaper than buying one.
It is amazingly comfortable and looks store-bought. It's fun to tell people that it is in fact a DIY masterpiece.


you rock Laura! Your dad's talent with carpenter detail is great too. guess i know who to call for help!! :)
ReplyDeleteI love this! I've pinned a few different ottoman tutorials, but yours seems super simple. Your colors rock, too!
ReplyDeleteThanks, Jvonne! I know - it would have looked WAY different if I made it completely myself. I take all the help I can get! :)
ReplyDeleteThanks Jess! Are you going to make one? If you do, let me know! I'd love to see the outcome! I should maybe show the first one we made, which was the no sew one. Thanks - I am quite fond of the natural/beachy feel and colors! :)
ReplyDeleteAs part of redecorating; new furniture can be an immense strain and with so much longing to beautify their
ReplyDeletehomes to a celebrity standard there comes no surprise as to why purchases are now made with the future in mind.
square ottoman