

The second step in my editing process is adjusting the white balance. I shoot on auto-white balance because I like focusing completely on my clients and on my thoughts while shooting, and I prefer to fix the white balance afterwards in my editing process. I know that there are many photographers who will tell you to do custom WB and get it right in camera, and there's merit to that school of thought. Sometimes, I set my WB by using the Kelvin settings if I have a couple extra seconds during a shoot. But more often that not, it works best for ME to let my camera's auto WB work during the session, and I use Lightroom's awesomely easy WB controls to tweak my settings afterwards.
First of all, what is white balance? White balance is the color of the light in your image. Different light sources have different color temperatures, and so your camera has to compensate, by setting a new WB reading, so your camera knows what 'White' is. [If that explanation isn't clear, go check out Google and see some more explanations.]
Sometimes, White balance is obvious. Meaning, if a photo shot in flourescent light has a green tint to it, most anyone looking at the image can tell it's too green. Or images taken inside under incandescent bulbs will often have an orange tint or 'color cast.' Most everyone can tell they are too orange.
However, White balance is largely based on personal preference as well. Some people prefer cooler or bluish tinted images while others [me!] prefer warmer or more orange tinted images. I used to think I preferred cooler images but the more I have shot and the more my photography style evolves, I have really seen my preference for warmer images emerge.
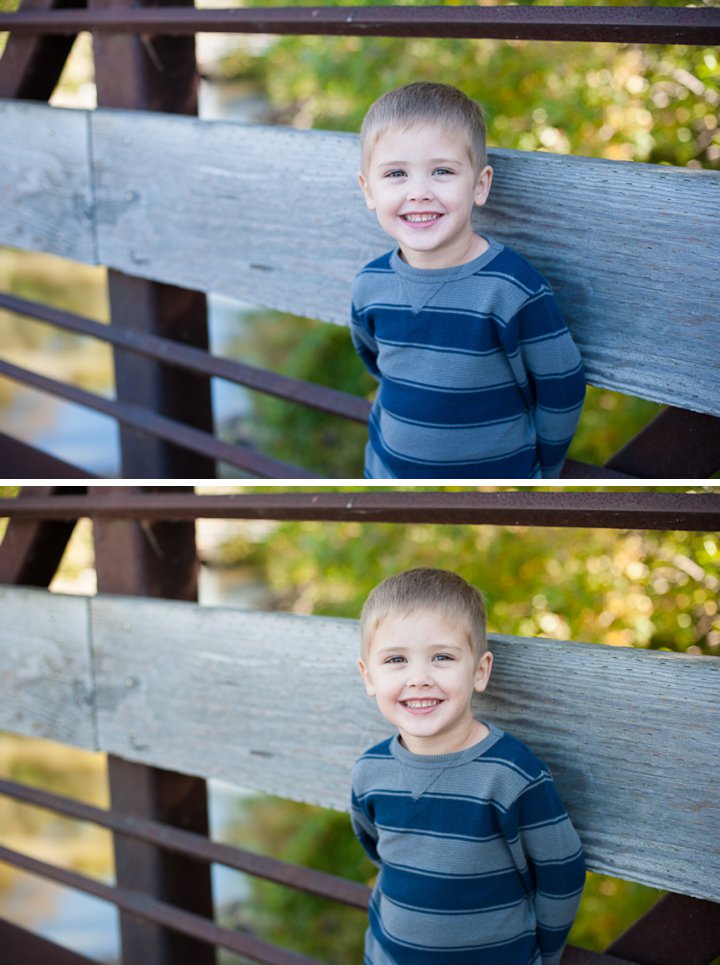
[The images below show a SOOC [straight out of camera, with Auto WB] on top, and my adjusted-WB image on bottom. Again, total personal preference, but I felt like the top one had a little too much magenta/purple and a hint of blue to it, so I warmed it up a bit to suit my taste.]
So, because WB is partially personal preference, what I think is a good WB might be too orangish for you. Or what you think is a good WB setting might be too cool/blue for me. To each their own.
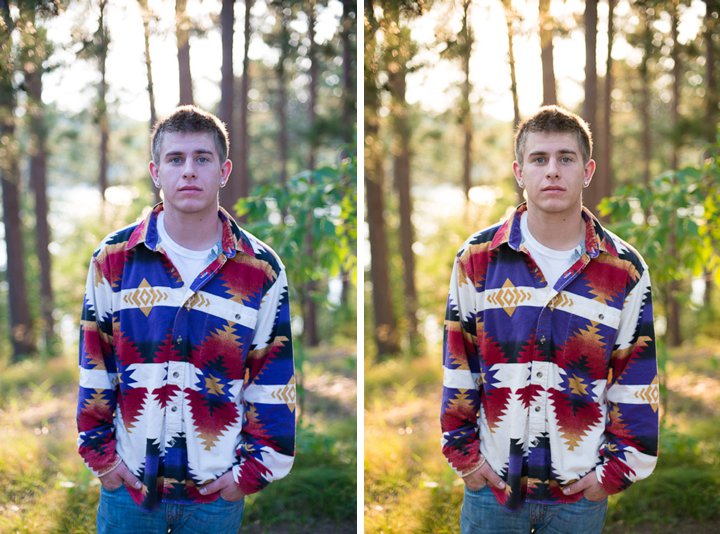
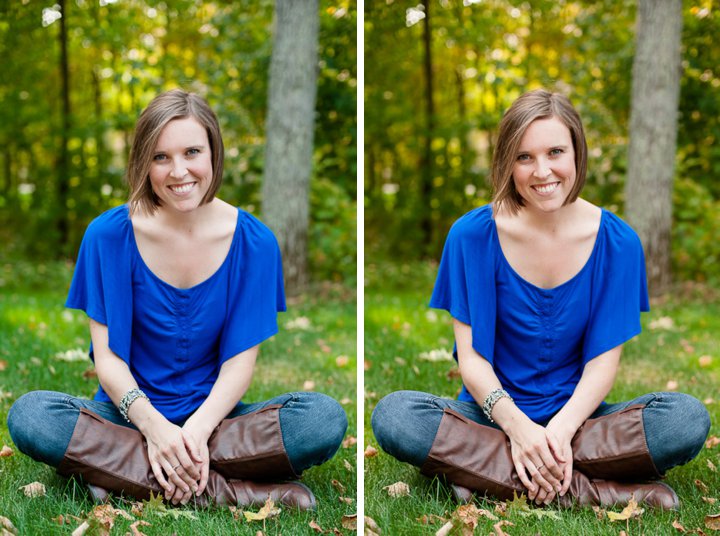
Often times though, a simple WB [sometimes called Color Temperature] adjustment can make a BIG difference in the look of your image. Sometimes, people look a little cold/lifeless when the WB is too cold. Simply bringing some warmth/orange into the image can make it look vibrant and lovely!
So this is my second editing adjustment I do to my images. After I correct any exposure issues, I do a WB adjustment if needed, according to my personal preference.
You might ask, why do I do exposure adjustments before WB adjustments? If your exposure isn't right, that can affect the color/WB of your image. So it's best to give it a perfect exposure first, and then see where the color comes out like. If it needs adjusting, then do a WB tweak.
Simple!
Almost all editing programs [Lightroom, iPhoto, Picasa etc] have White Balance or Color Temperature adjustments. They may even have two sliders, like Lightroom does. One is a color temperature slider, which goes from blue on the left to orange on the right. The other is a tint slider, which goes from green on the left to magenta on the right. The perfect white balance is made by sliding those two sliders until the image looks perfect to you.
Tell me: do you prefer cool images or warm images? Remember, neither is right or wrong, because white balance is largely personal preference!
Happy Editing!
Happy Editing!


No comments:
Post a Comment
COMMENTS!!! I can't wait to hear from you!