Today, I want to show how to use shutter speed to either freeze or show motion. In order to completely understand this concept, I'd recommend you take a look at the shutter speed tutorial I wrote about here. I'm going to cover it superficially today, and depending on your knowledge about this topic, you might need to do a little more reading to understand it completely.
Shutter speed is essentially the time that your shutter stays open while you take a photo. Your camera's sensor accepts light during the time that shutter is open, and it also captures motion while that shutter is open.
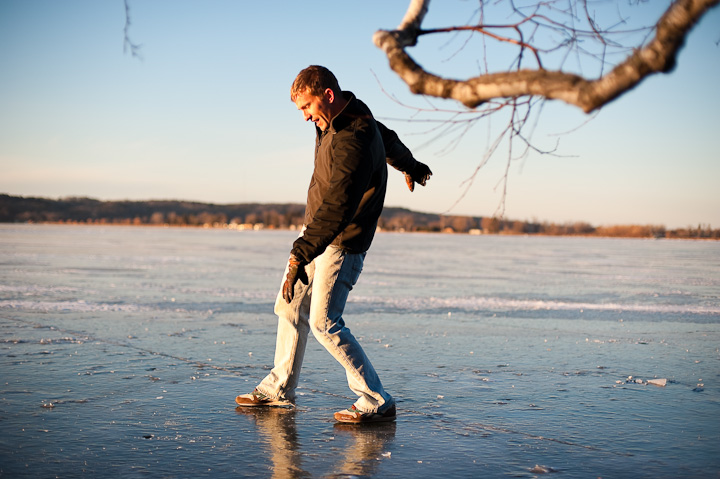
So, the faster the shutter opens and closes, the less light and LESS MOTION is captured. This is how you FREEZE motion. [This is how you capture a person in mid air when shooting a basket, no blur, no motion at all.]
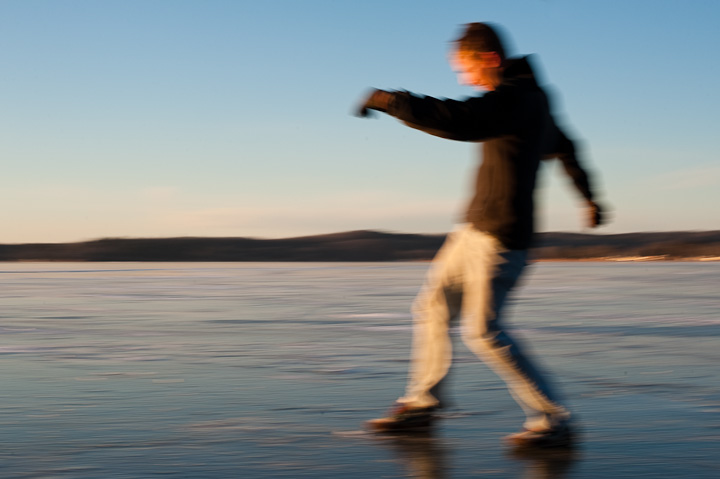
The slower the shutter stays open, the more light and the MORE MOTION is captured. This is how you SHOW motion. [This is how you show a bicyclist streaking down the road, or a person running by so fast they are a mere blur.]
You can control the type of photo you take - whether you will freeze the motion or show the motion - by the shutter speed you choose for your photo.
Take these two examples.
The first photo, I used a fast shutter speed to freeze the motion as Matt ran and slid across the ice on the lake. A fast shutter speed freezes the motion, and is represented by a number such as 1/250th of a second, 1/1000th, 1/2000th etc.


If you have a Point&Shoot camera that doesn't give you too much control over these settings, try using the Sports Mode [the symbol is often a track person running] to freeze the motion/mimic a fast shutter speed, and then try the Night or Firework mode for a slow shutter speed, to try to show the motion.
Happy experimenting!


No comments:
Post a Comment
COMMENTS!!! I can't wait to hear from you!